Memsec7 has 3 different options for sending messages to your staff. These are all configured in the back office under Staff>Messaging. Clicking that menu option will display this form;
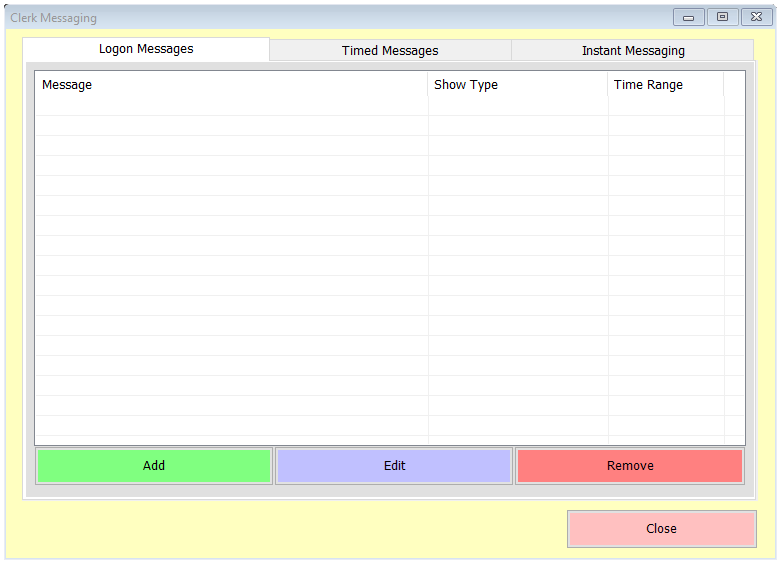
Logon Messages
These messages will display on the till when a user logs on. Click ‘Add’ to create a new message, and you’ll see this screen;
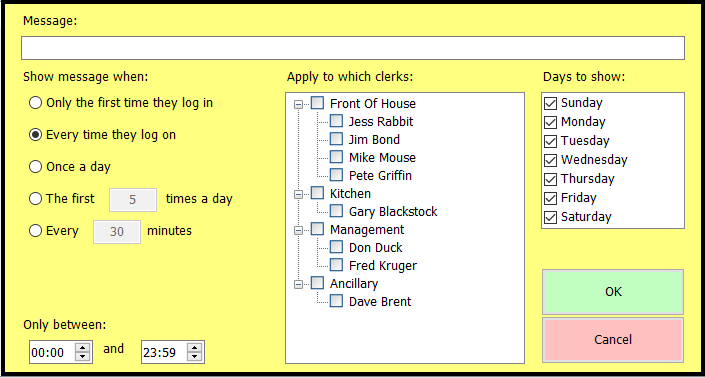
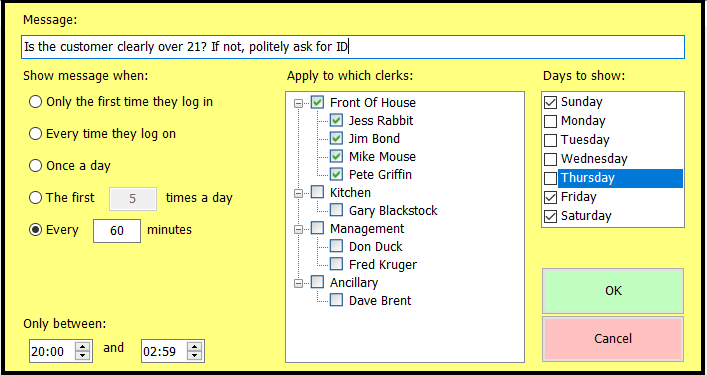
Logon messages can be sent to specific clerks, on selected days, with options around how often they’ll see the message and when. As such, there are lots of potential uses for logon messages. We’ll use a fairly typical example – reminding front of house staff to ask younger looking customers for ID if they may potentially be too young to purchase alcohol.
Firstly then, we’ll write the message itself in the box at the top. Next, we need to set the frequency with which this will be seen. This will be up to your judgement of course, but the options provided should cover every scenario; Only the first time they log on, Every time they log on, Once a day, The first X times a day, Every Y minutes. You can further control this by setting start and end times at the bottom left.
Not all staff will need to see all messages, so in the central panel you can decide who this message will apply to. In our example, we have departments set up (Till>Till Setup>Lists & Groups) so we can just tick the Front of House department and all of the staff assigned to that department will be selected. If you don’t have departments set up, just tick the individual staff members.
Finally, you can limit the message to certain days of the week too, using the tick-boxes on the right. In the completed example below, we’re going to remind the Front of House staff to politely ask for ID, once per hour, between 8pm and 3am at the weekend.
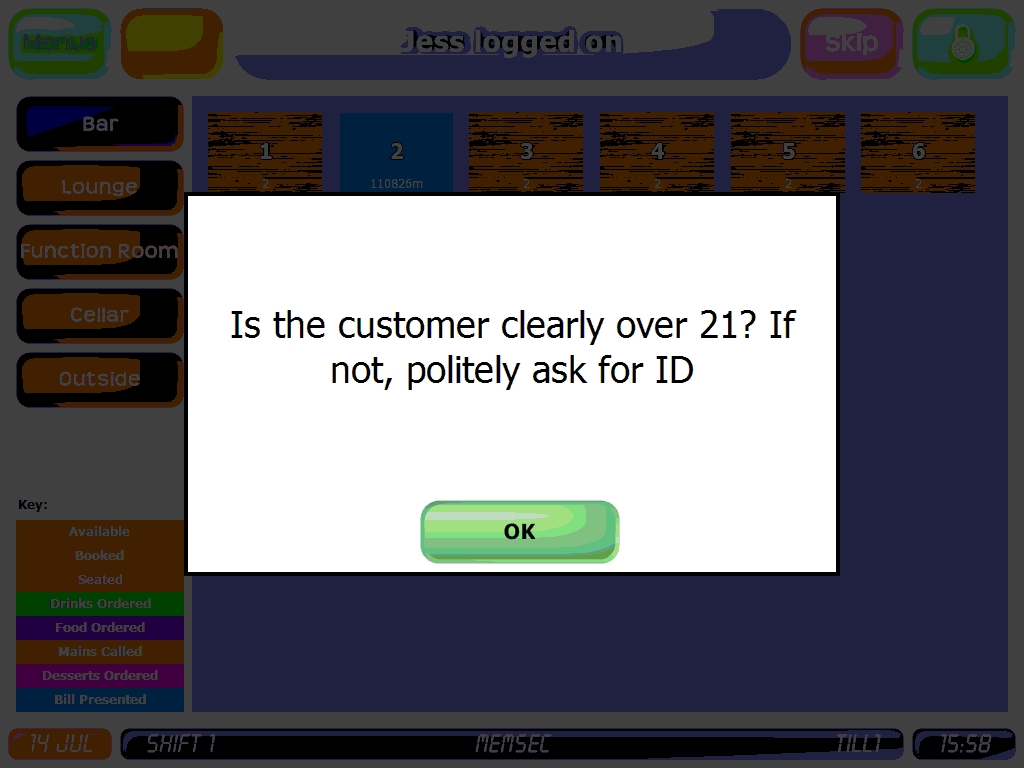
And here’s what the staff will see when they log on;
You can of course edit the message at any time using the Edit button, and when it’s no longer needed you can remove it using the Remove button.
Timed Messages
The centre tab on the messaging setup screen allows you to configure timed messages.
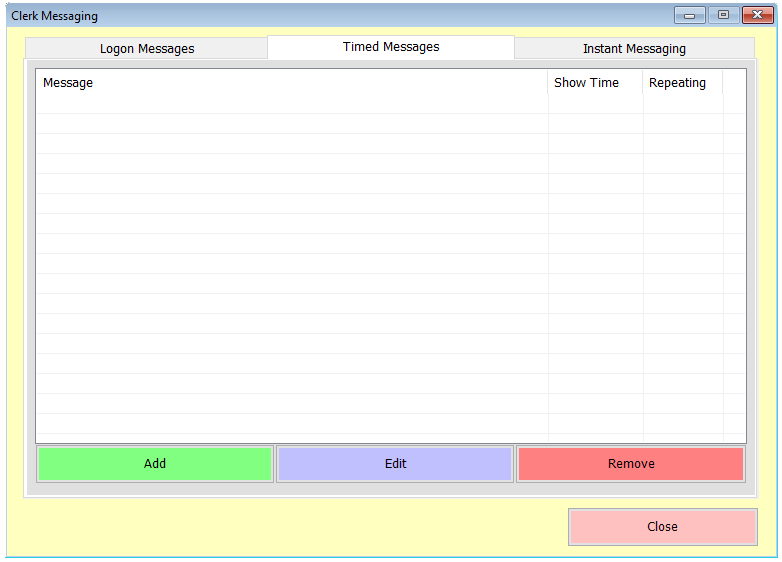
Again, clicking Add will display a new setup screen;
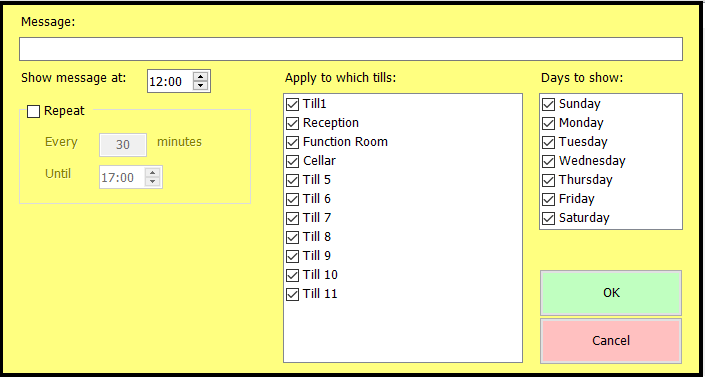
As with logon messages, the first thing we need to do is supply the message text. Because it is time driven, this kind of message is most often used to provide reminders of upcoming tasks. As such, the next setting is the time the message will be displayed, along with the option to have it repeat every X minutes until a finish time.
Where logon messages are targeted to specific staff members, timed messages are targeted to tills. By default all tills will be selected but quite often only selected tills are applicable.
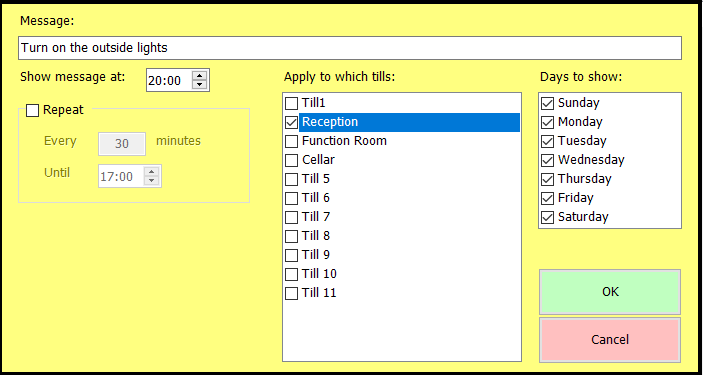
Finally, as with the logon messages you can select which days of the week these messages appear. In the completed example below, only the Reception till will show the message, at 8pm each night every day of the week (presumably because the light switch is nearest to that till!)
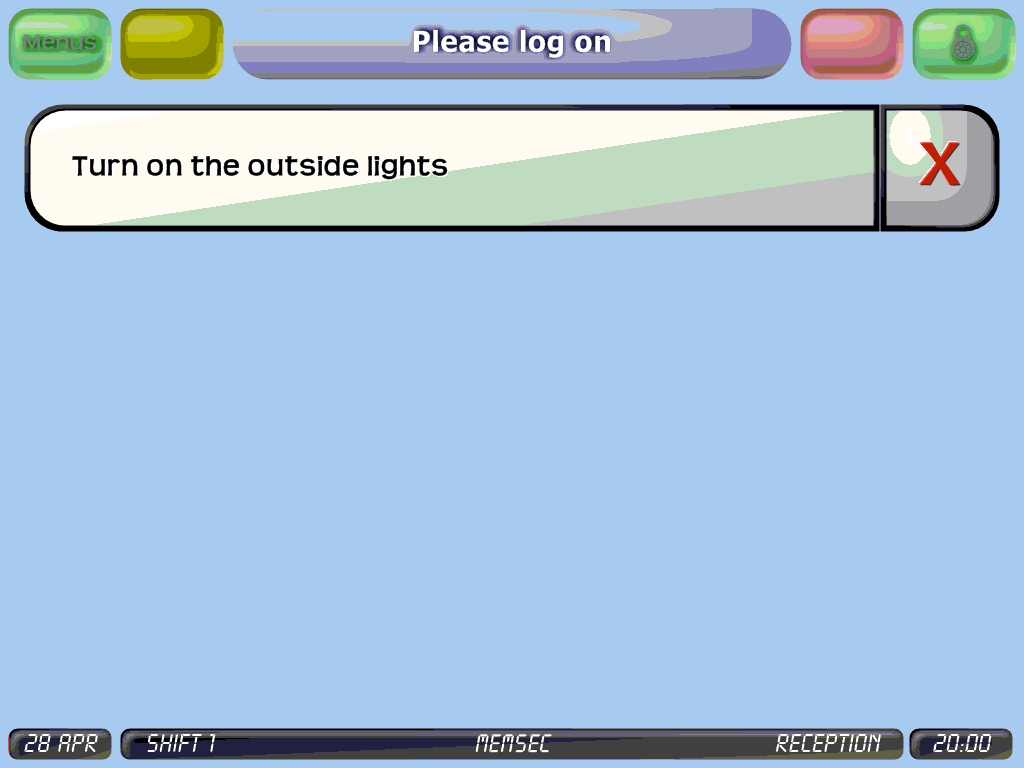
And below is how this will appear on the till. Clicking the X to the right of the message will clear it.
Like logon messages, you can edit a timed message at any time using the Edit button, and when it’s no longer needed you can remove it using the Remove button.
Instant Messages
Unlike timed or logon messages, Instant Messages sent via Memsec7 don’t appear on the till. Instead, they’re sent via email or SMS to the staff member’s own device(s). Clicking on the Instant Messaging tab of the Clerk Messaging form displays this screen;
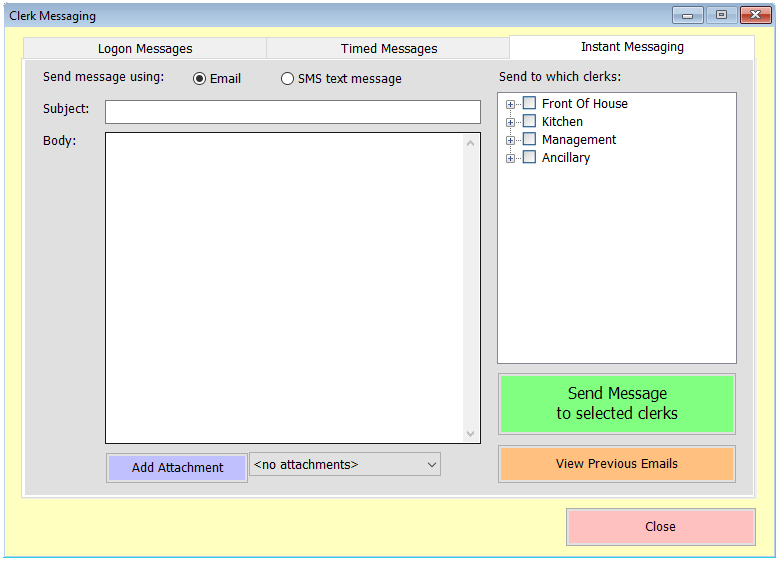
Unlike the timed or logon messages, there’s no need to click ‘Add’, rather a blank new email screen is shown by default. As with any email program, you have space for the Subject and then a large text area for the body of the message. Underneath there’s a button that will allow you to add attachments to the email. Finally, to the right hand side you can select which staff will receive this email.
In the completed example below, we’re inviting all staff to the Christmas Party, and attaching the menu. You can see from the list of staff that there’s no email address stored for Pete Griffin, so he won’t receive his invite. Staff email addresses are stored in Staff>Clerks under the Personal Details section.
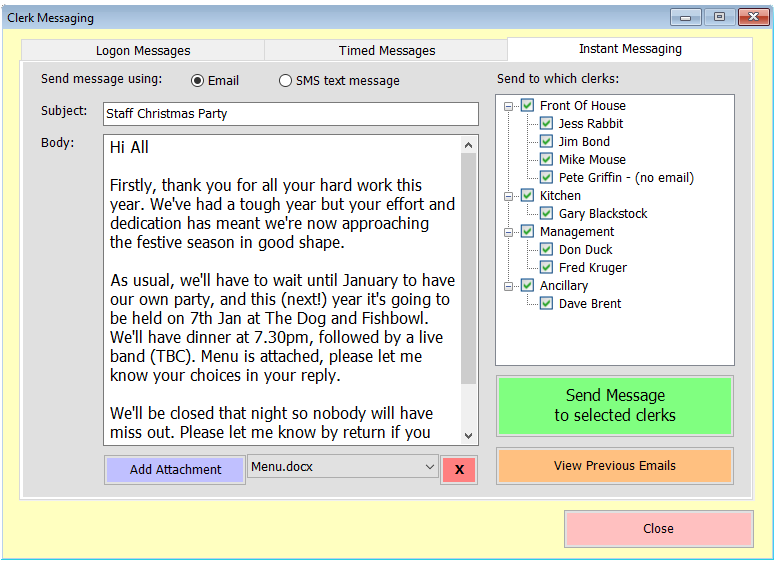
Once you’re happy that the email text is complete, you’ve attached all necessary documents and selected the correct recipients, simply click ‘Send Message to selected clerks’ to send the email. You’ll receive a confirmation prompt like this;
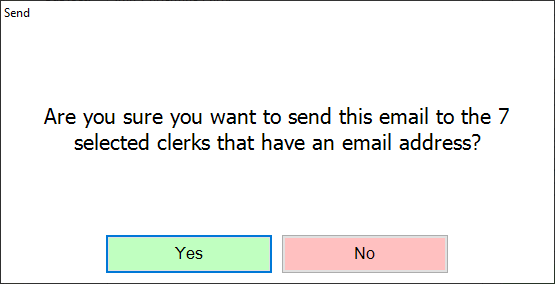
Note that this has taken into account the fact that one of the selected staff members doesn’t have an email address. Clicking ‘No’ here will return you to the setup screen with the text still there. Clicking ‘Yes’ will mean the system will attempt to send the email, and the form will be blank.
Once you’ve sent an email it’s saved in the system. You can review it by clicking on ‘View Previous Emails’. This will show a new form;
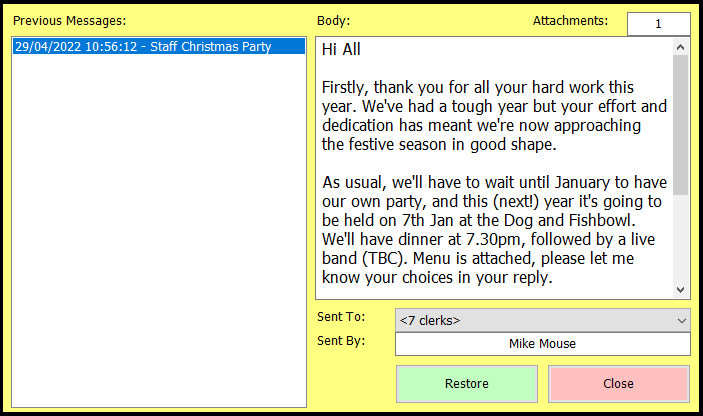
All previously sent emails are listed on the left with the time they were sent and the Subject, and the text of the selected message is shown on the right, along with a list of its recipients and who sent it originally. If you want to resend a message, or use its text as the basis for a new email, click the ‘Restore’ button. This will repopulate the main form as above, but attachments have to be manually reinstated.
SMS Messages
The other form of Instant Message offered by Memsec7 is text messaging. Please note that this is not a free service – each text sent will be chargeable. The charge will be added to your monthly Memsec invoice.
To send a text, click on the option button for ‘SMS text message’ at the top of the Instant Messaging tab. The screen will change from the email layout to the below;
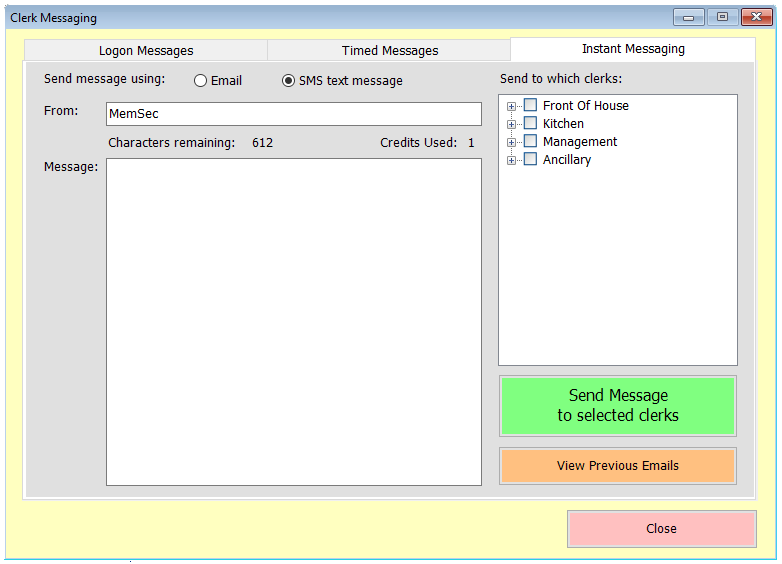
The ‘From’ field at the top will automatically show your site name as stored under General>Site Settings, but with any spaces removed. You can alter this if you wish. Under that you can see the count of characters remaining, and the number of credits used. You can use up to 612 characters in total. If your message is 160 characters or less, it will go as a single block. Anything longer will go in blocks of 153 characters. Each block represents 1 Credit, and each Credit is charged at 5p + VAT per recipient. For example, if you send a 200 character message to 10 staff members, the cost will be £1.00 + VAT (2 credits x 10 people, 2x10x5p=100p).
As with the email option, you can select the staff members who you want to send the message to on the right hand side, and again, if a staff member doesn’t have a mobile number stored there’s an indication next to their name. A completed message might look something like this;
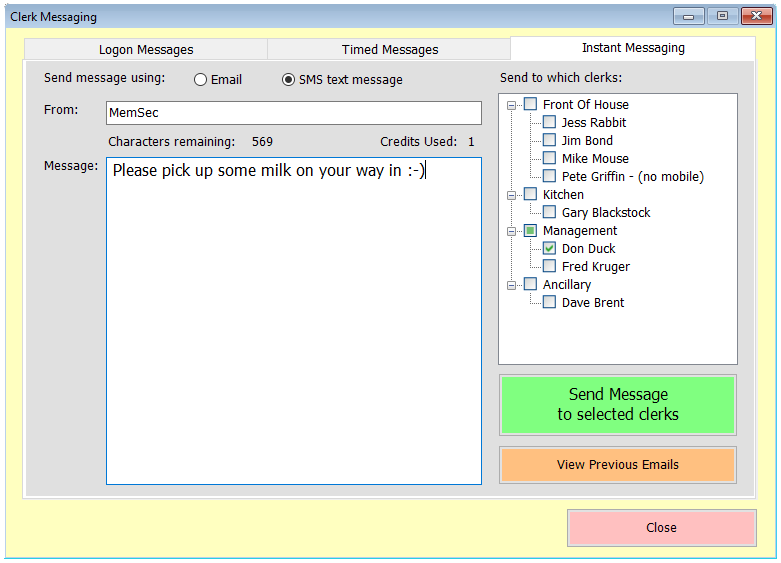
Once you’re happy with the message content, click ‘Send Message to selected clerks’. You will then be asked twice to confirm that you wish to send the message. The first is confirmation on the number of recipients;
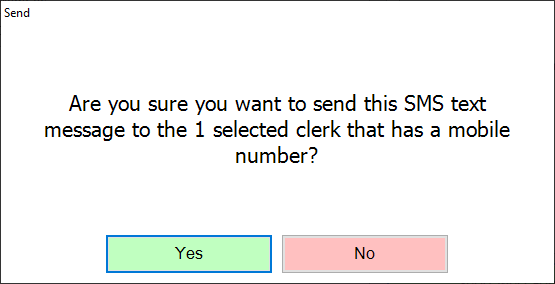
And the second confirms the cost;
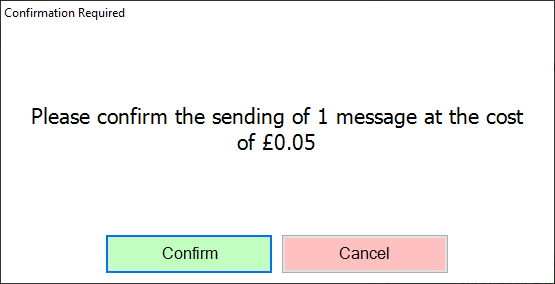
Clicking ‘No’ to the first message or ‘Cancel’ on the second will return you to the completed composition screen. Clicking ‘Yes’ and ‘Confirm’ will show the screen below;
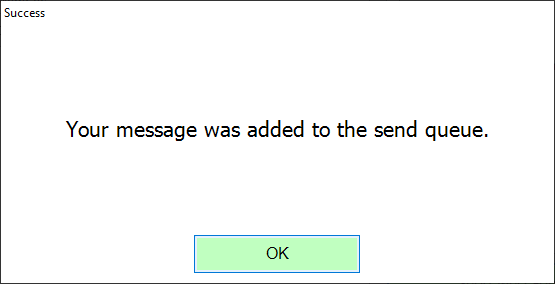
Clicking ‘OK’here will also return you to the completed composition screen, since SMS messages aren’t saved in the same way as emails.This way, you can repeat the process without having to completely retype the message if you decide you want to send it to more people.
