Booking Customers
Pressing the Customers button on the main diary page will show this screen;
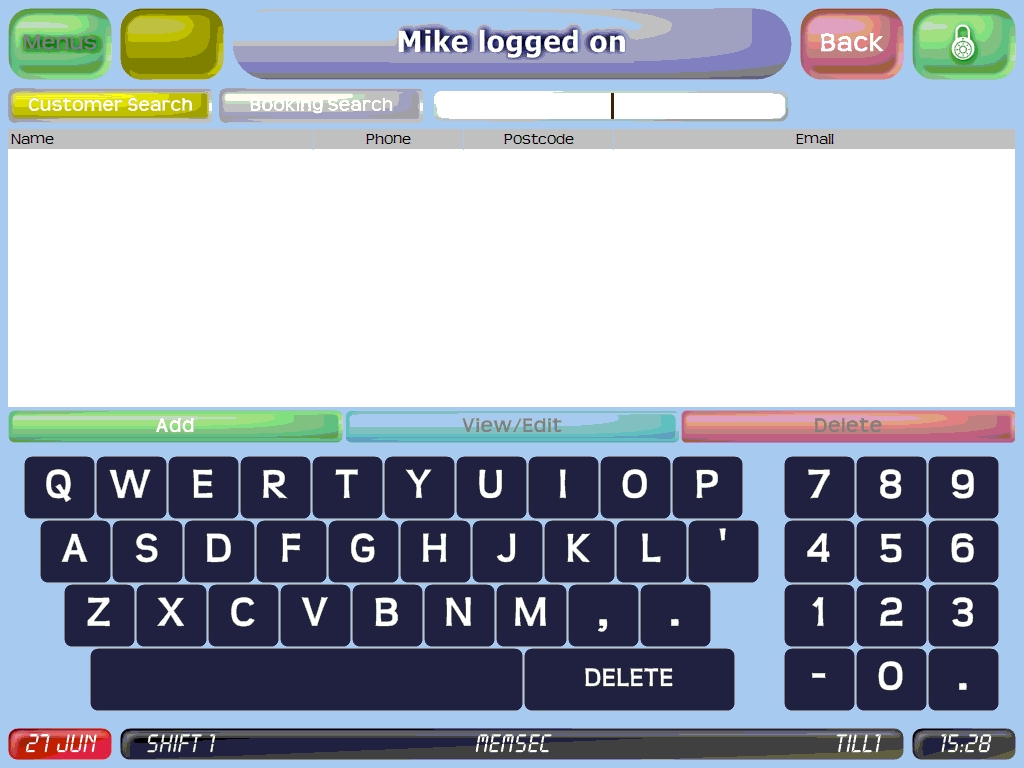
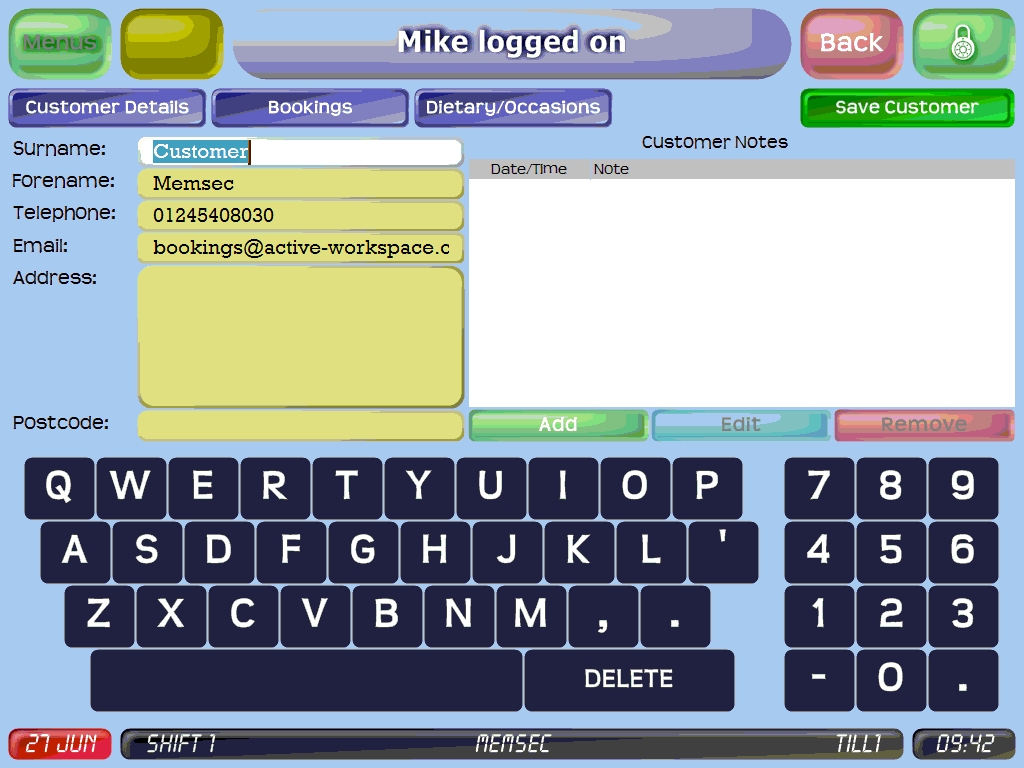
You can add a new customer by pressing ‘Add’. This will display this screen;
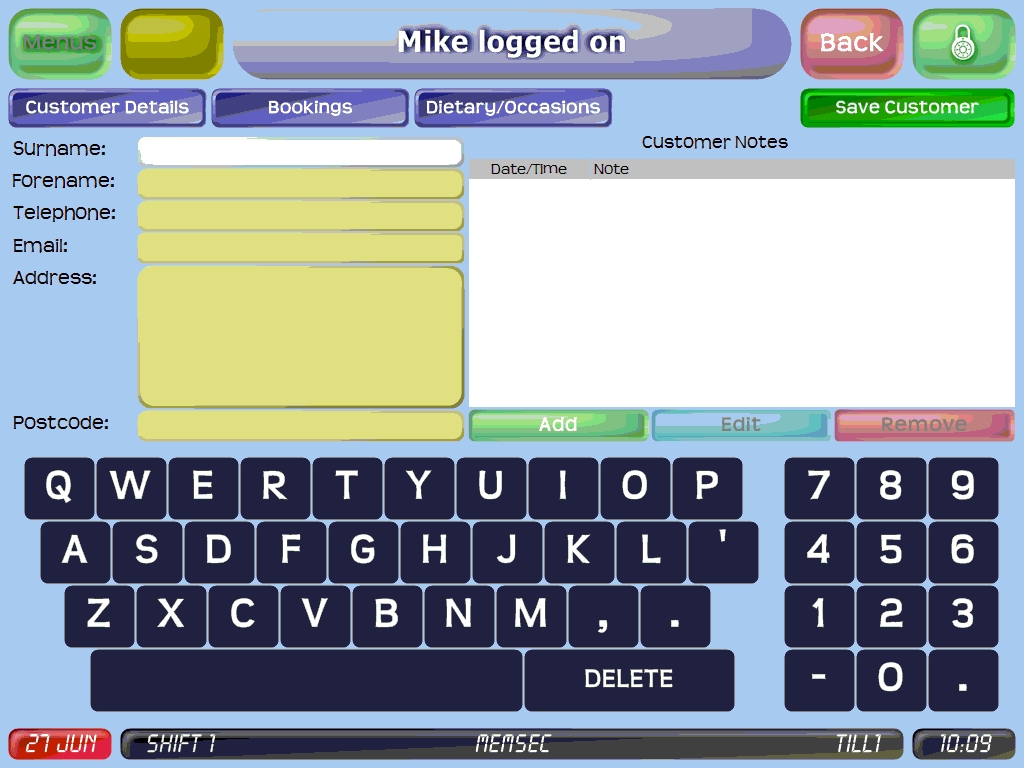
You can fill in the details and click ‘Save Customer’. In practice, you will be more likely to do this as part of recording a new booking.
Also on the customer screen, you can search for an existing customer’s name, their phone number, post code or email address. As soon as you start typing, all matching customer details will be listed, and you can select the correct match by touching it in the list.
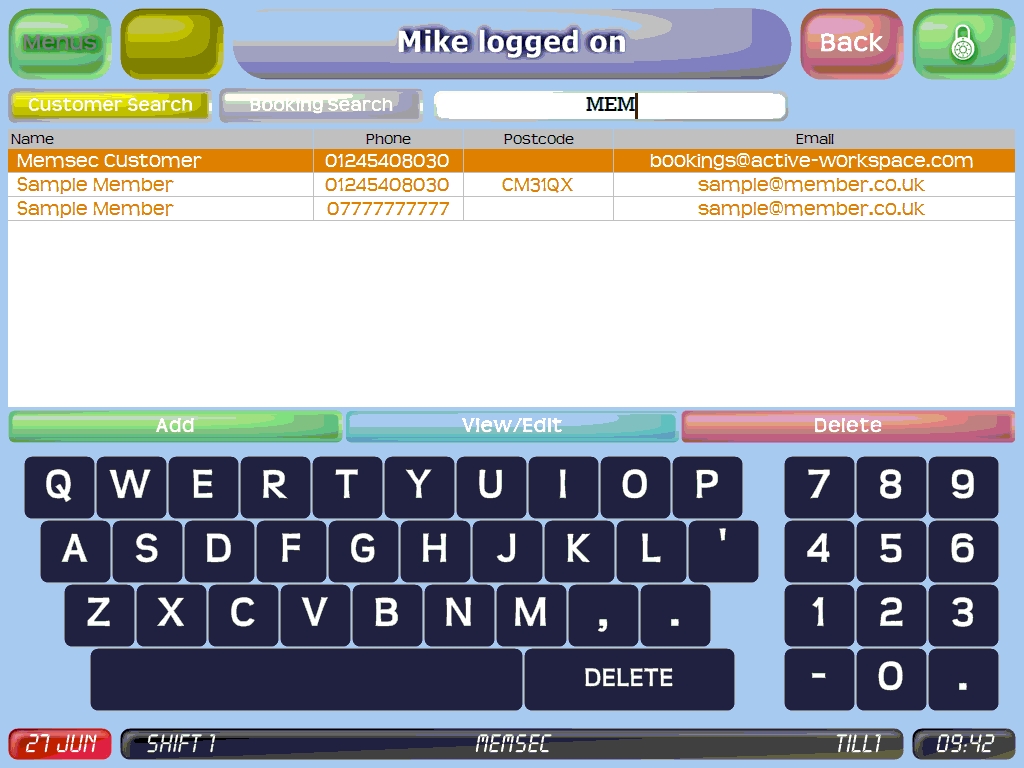
Selecting a match will highlight the options View/Edit and Delete. Delete will generate a prompt to confirm that you wish to remove the selected customer’s details.
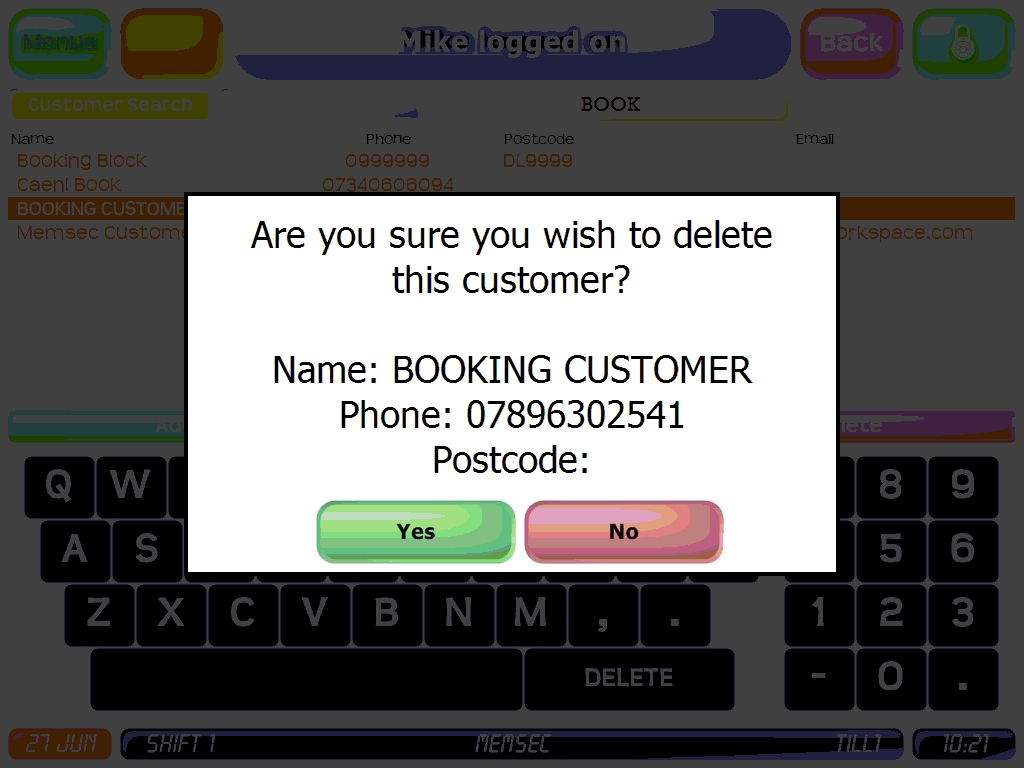
If you click ‘Yes’, the customer’s details will be deleted and will no longer be searchable in this screen. However, any bookings they have previously made will still show their details in the booking diary.
View/Edit, after a similar prompt, will display the customer details screen again, populated with the stored details for the selected customer.
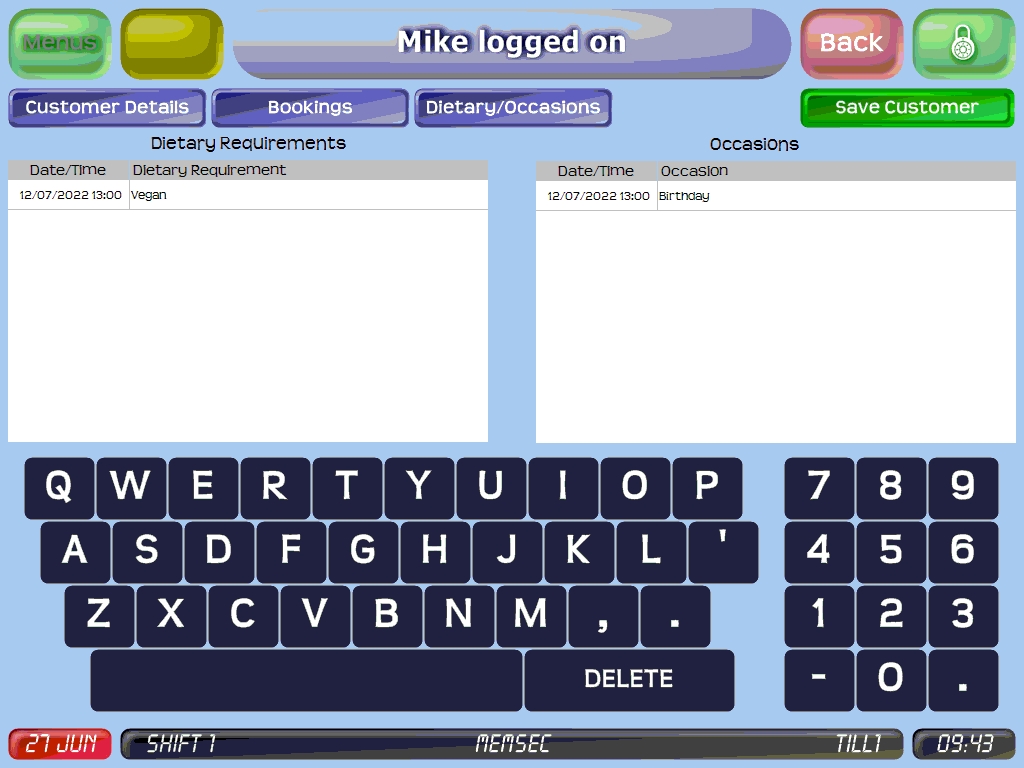
There are also buttons for Bookings and Dietary/Occasions. Pressing the latter will show two lists, one for Dietary Requirements and the other for Occasions. In those lists you’ll see any bookings made by this customer that have selections relevant to those headings, and what those selections were;
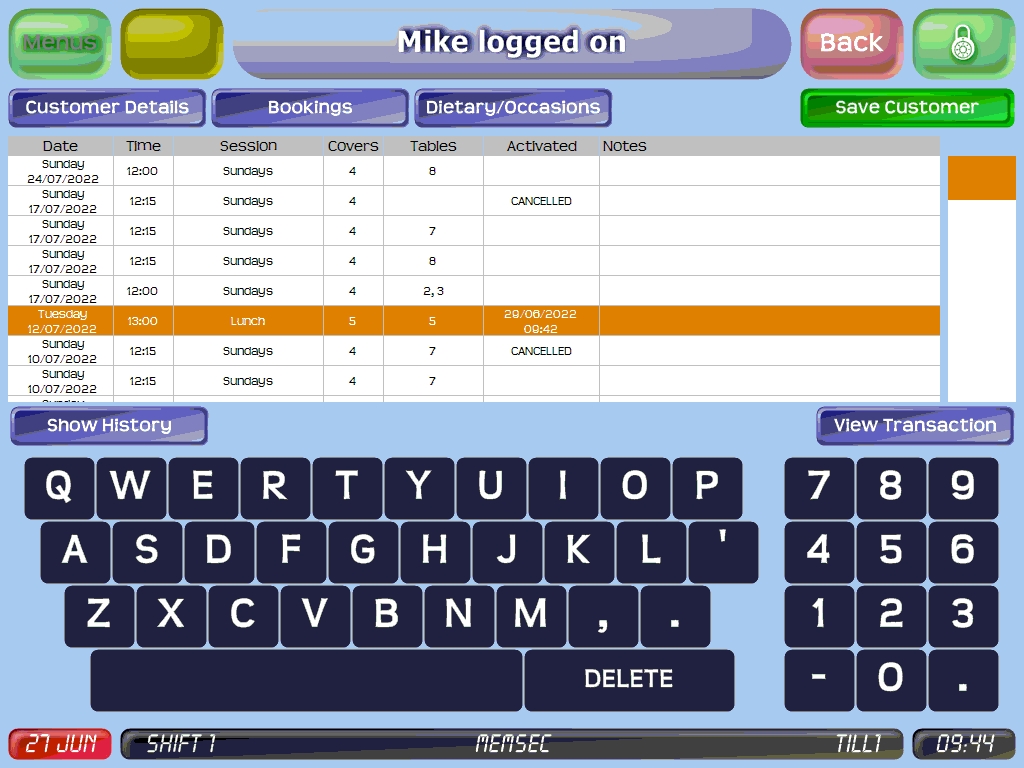
Pressing the Bookings button will show a list of all bookings made by the selected customer. The summary screen lists the date, time, session, covers, table(s) as well as whether the booking was cancelled or when it was activated, plus any notes. Highlighting a booking will enable a button on the left-hand side below the list, ‘Show History’ and, if the booking was activated, another on the right ‘Show Transaction’.
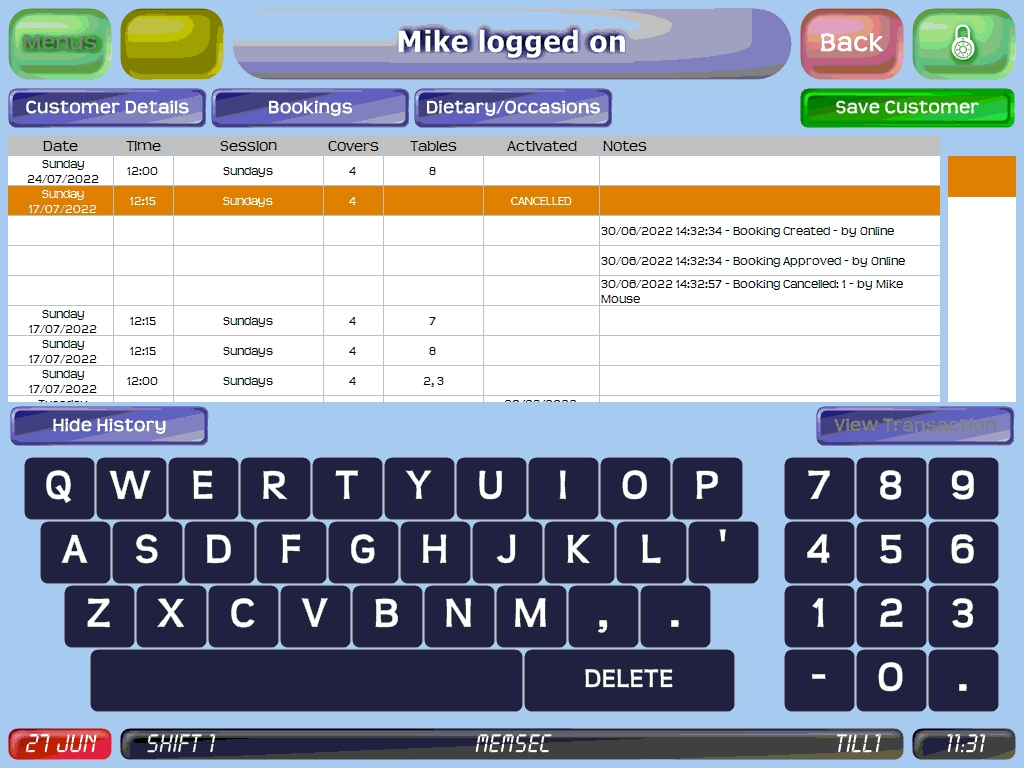
The ‘Show History’ button will expand the selected booking to show when it was made, and any edits or cancellation details, including which members of staff were responsible (unless the booking was made or cancelled online by the customer, in which case this will be shown).
For bookings that were activated, the Show Transaction button will display the Last Sale screen populated with the details of the sale associated with the booking in question;
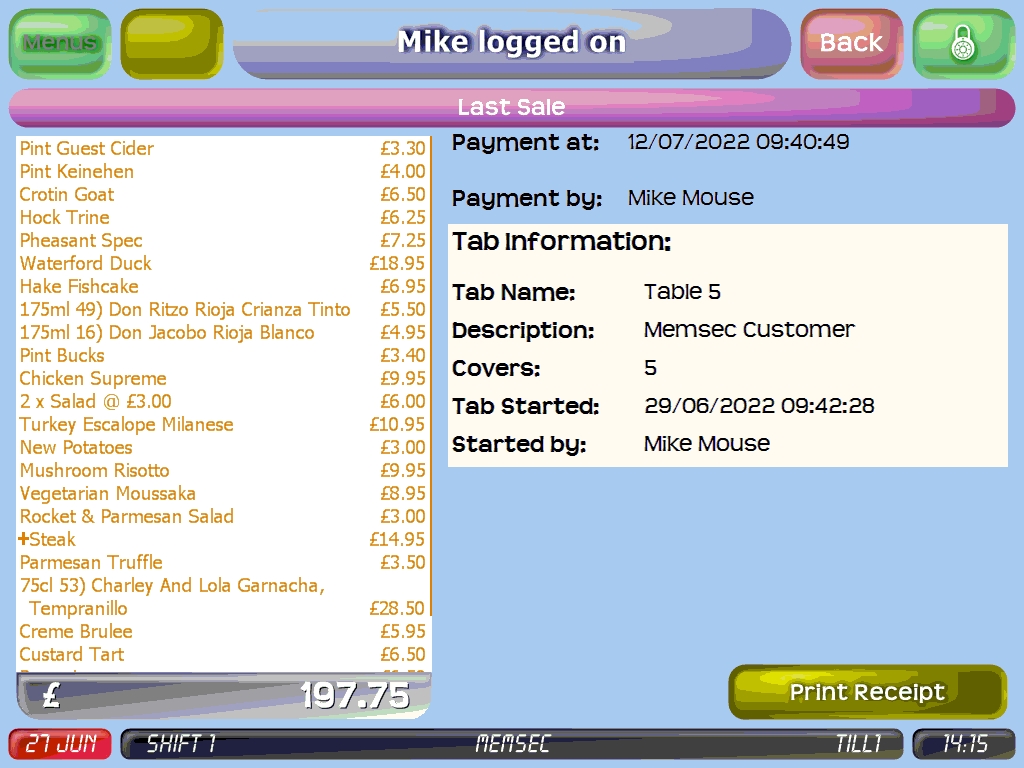
You then have the option to (re)print the receipt for that transaction. Pressing ‘Back’ will return you to the list of bookings for this customer.
Within the search screen there is also the option to search for a particular booking rather than for a customer. Pressing the ‘Booking Search’ button will allow you to search for a booking either by the customer name or the booking reference, which will have been provided in any confirmation emails sent to the customer but which won’t otherwise be visible in the system.
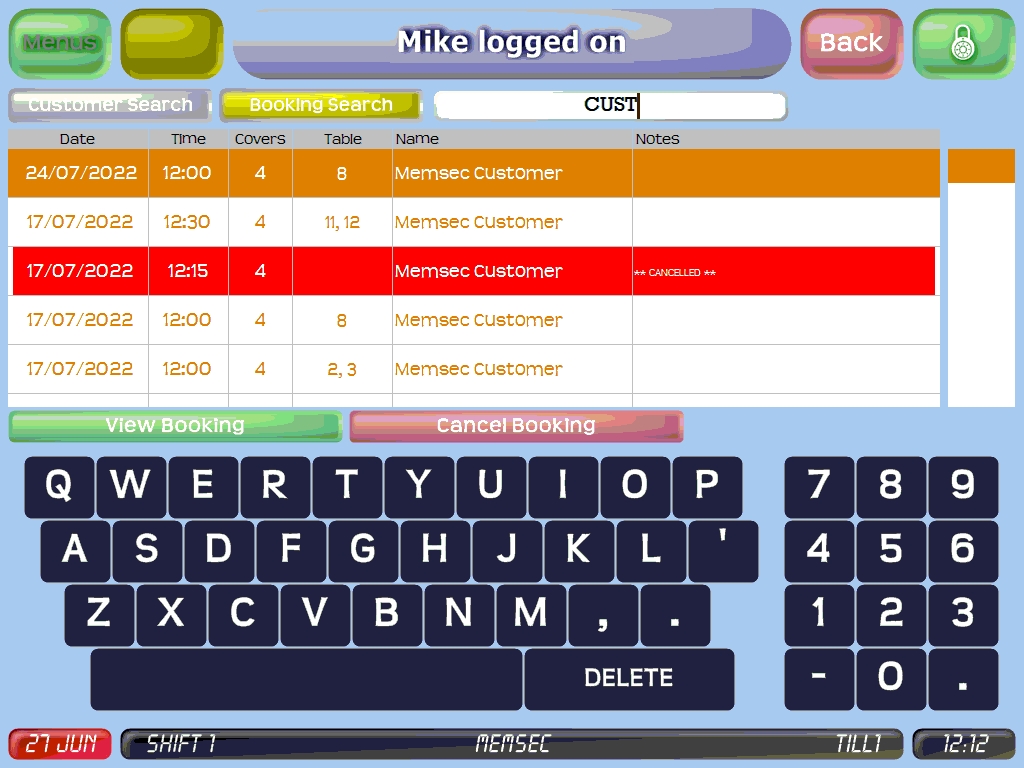
As with the customer list, matches will be displayed as you type and you can select the required booking from that list. Cancelled bookings are highlighted in red and can’t be changed, but for other bookings you then have the option to View or Cancel the booking. Viewing will also allow you to edit the booking, while the cancel option naturally asks for confirmation before cancelling.
