View Bookings
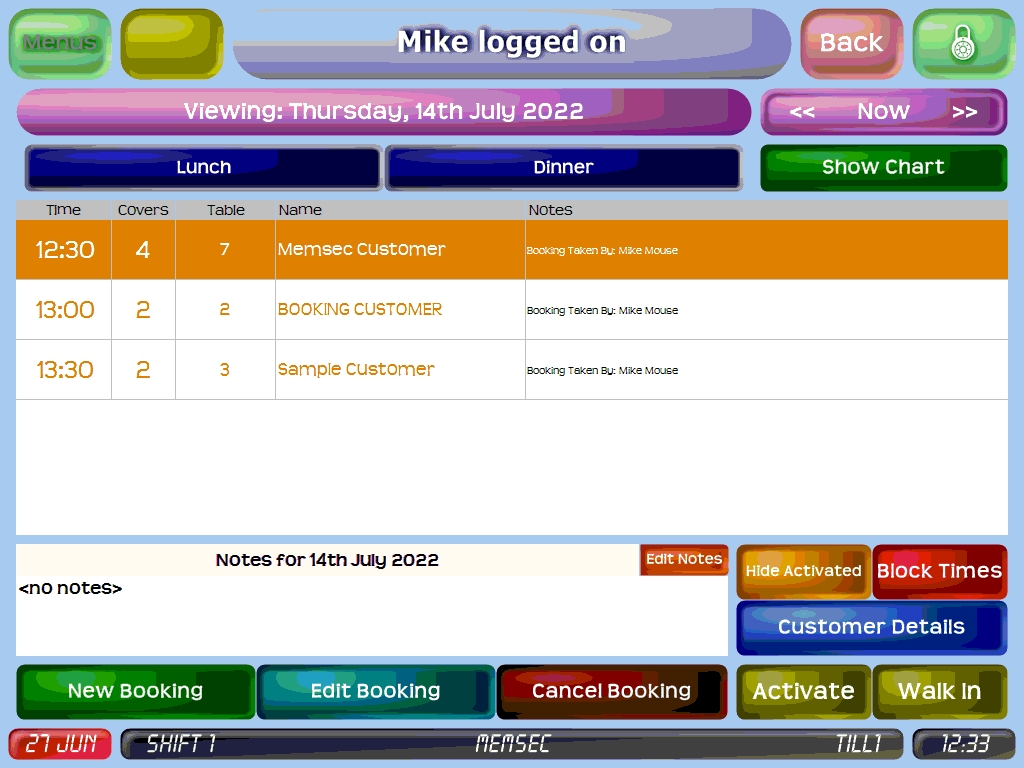
Pressing the View Bookings button on the main diary page will display the bookings for the selected day. How they’re displayed will depend on whether you’ve chosen the ‘Show Chart First’ option in settings. If not, the bookings list will appear;
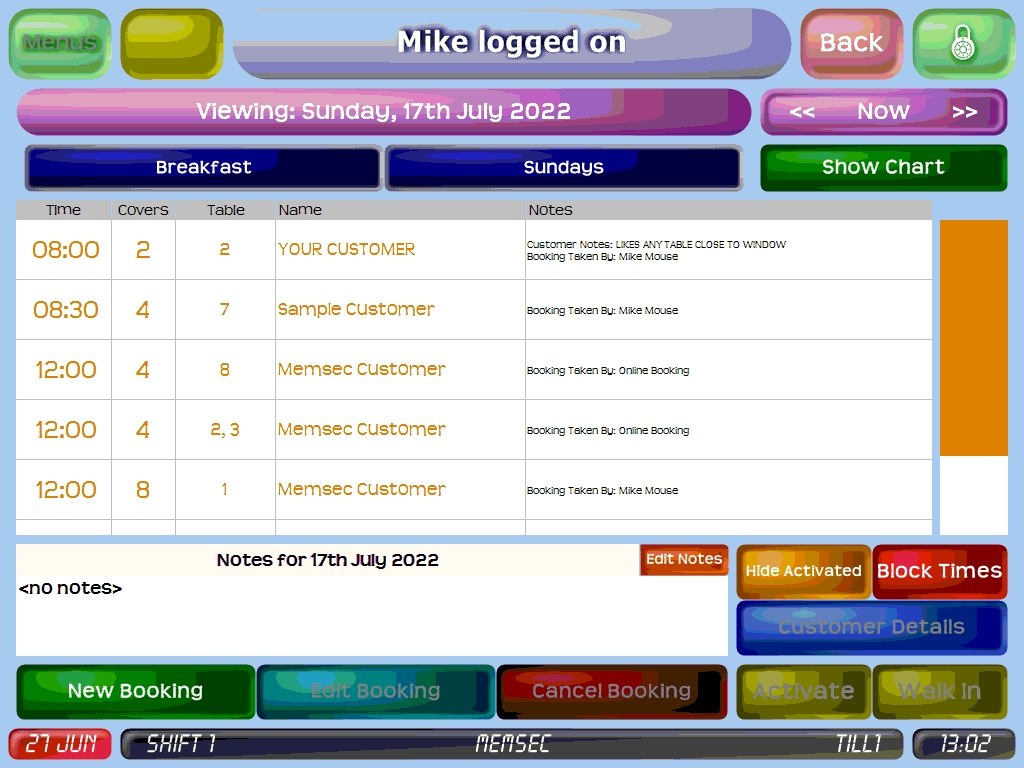
In the list view there are buttons underneath the date label for you to select and de-select individual sessions, and each booking is listed in chronological order with the time, covers, table number(s), customer name and notes. The contents of the notes field will be dependent on which choices you’ve made in the booking settings screen but any notes relevant to either the customer or this particular booking will always appear here. There is also a button ‘Show Chart’, which will change the view of the day’s bookings;
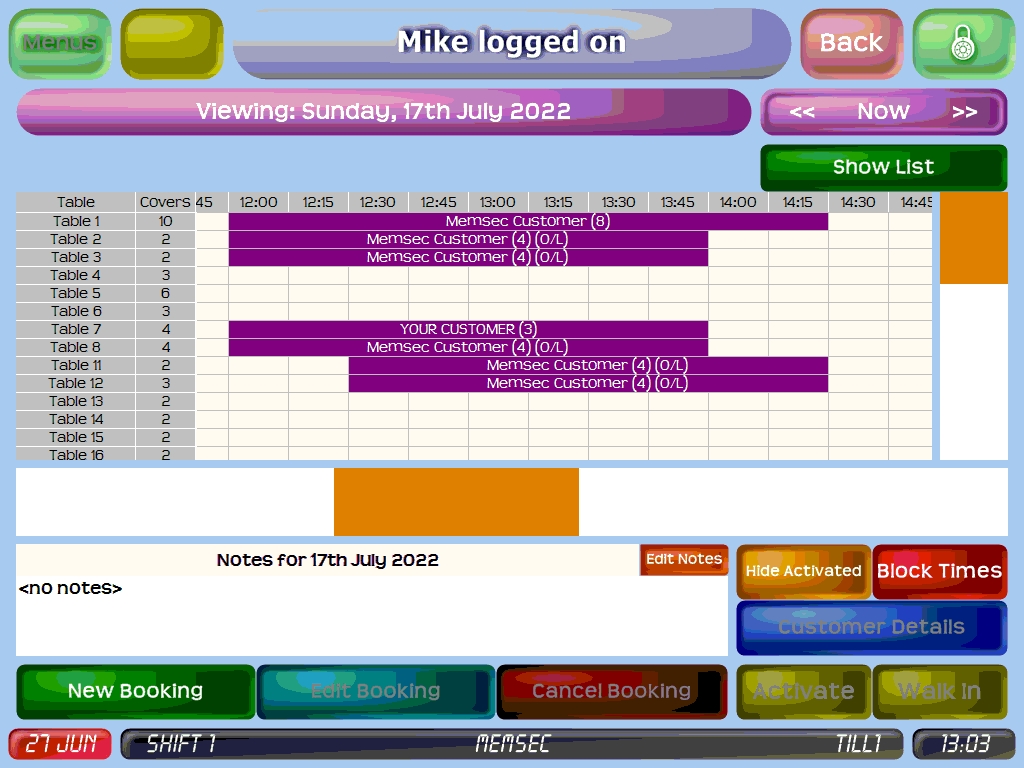
This is the view you’ll see if you select ‘Show Chart First’. You can scroll left to right to change the time-span shown, and up and down to view different table numbers. Bookings are displayed to occupy their expected time-span, with the customer name, number of covers and, if booked online, ‘(O/L)’. There are no session buttons as the whole day is visible, but you can switch to the list view but pressing ‘Show List’.
In either view, there are various options within this screen;
New Booking
This is the button you’ll need to create a new reservation, which is covered in detail here.
Hide Activated
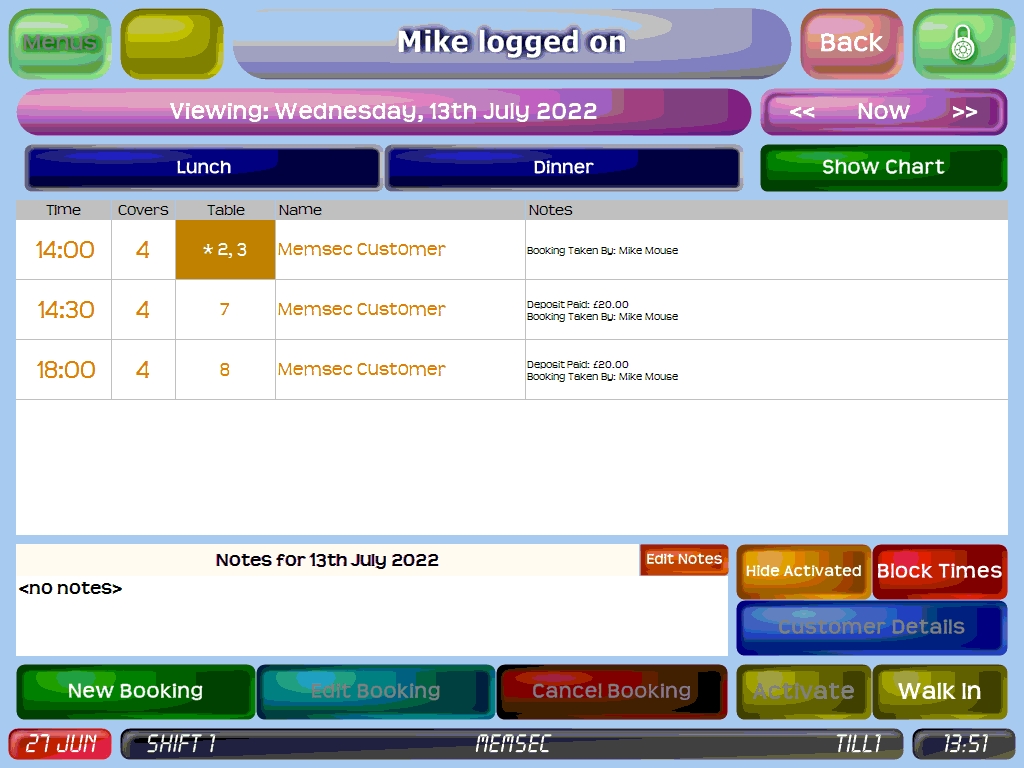
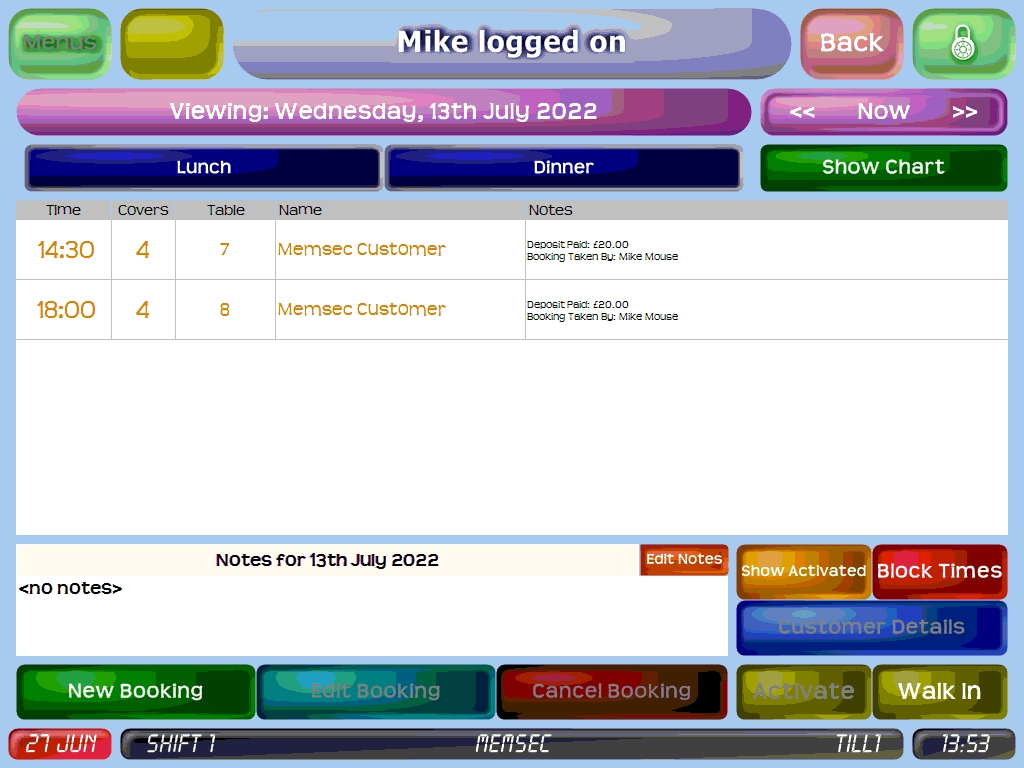
This button is enabled at all times, and will hide any bookings in the list view which have already been activated. Activated tables have their table number highlighted in the list view but this button can be useful on a busy day when you’re trying to see how many customers you’re still expecting to arrive. In the images below you can see the normal view and then the list view with the activated table hidden and the caption on this button changed to ‘Show Activated’.
Block Times
If you’ve allowed the setting to show the Block Times button, this will also be available at all times when viewing the current or future dates. Sometimes you will need to prevent bookings being made for part of a session. For example, if you have a function such as a party that will continue beyond normal booking durations. Click this button to show a screen with each time-slot on the selected day, along with session buttons at the top;
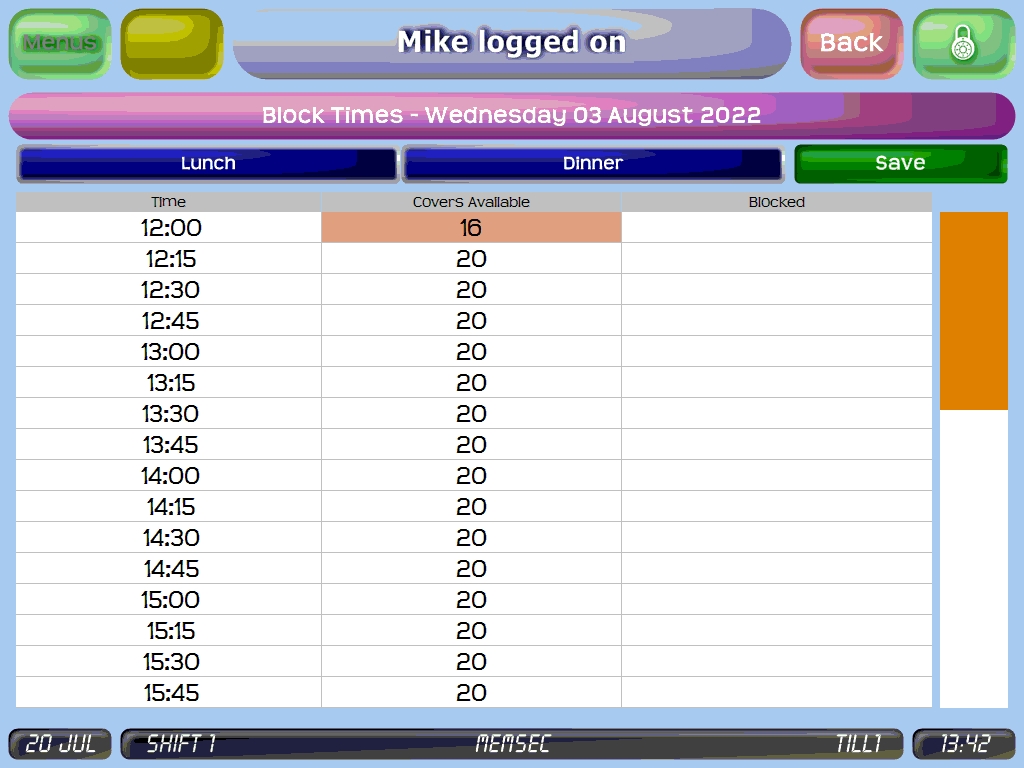
By default, all sessions are selected but by clicking them you can deselect sessions to allow you to focus on the times you need to block. Each time slot in the selected sessions is listed, along with the number of covers remaining in that slot. Clicking in the ‘Blocked’ column against a slot will show that slot as blocked.
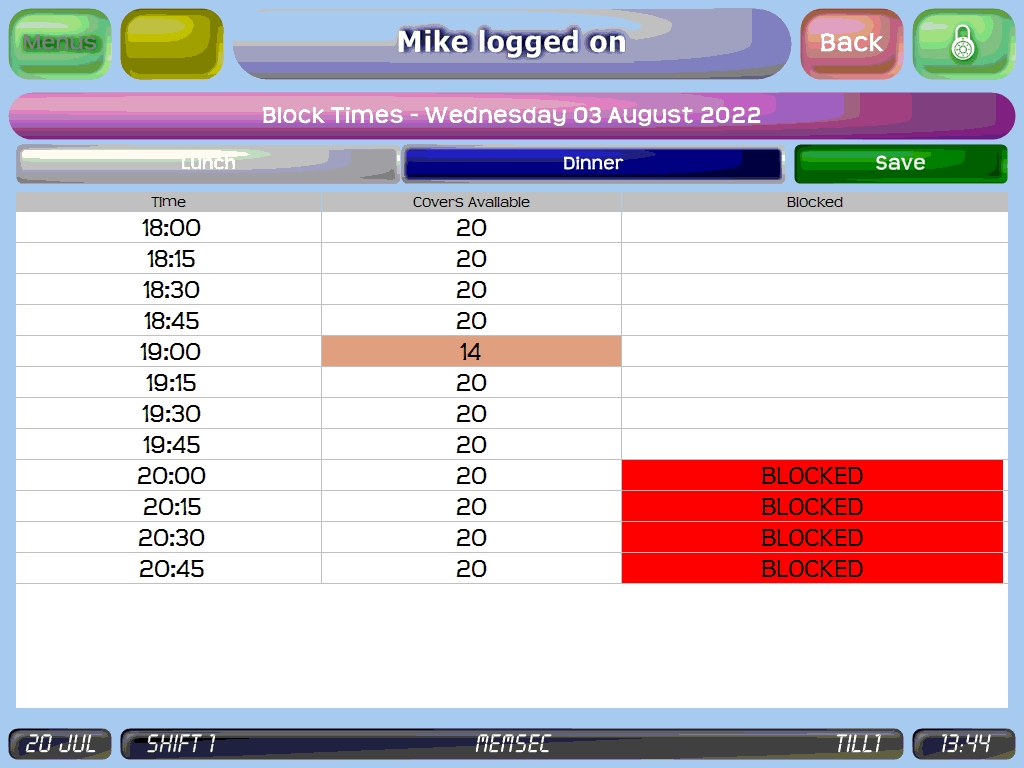
You can block any number of slots on any given day or session, and they do not need to be consecutive. Once you’ve selected all the required slots just click ‘Save’ and the block will take immediate effect. Any bookings already made for slots that you block will remain valid, so it’s best to do this before any bookings are made, or to rearrange any pre-existing bookings.
Walk-In
Also available on the current day’s diary screen is the Walk-In button. This allows you to record a table in the diary that has not been booked in advance. Clicking this button will show this screen;
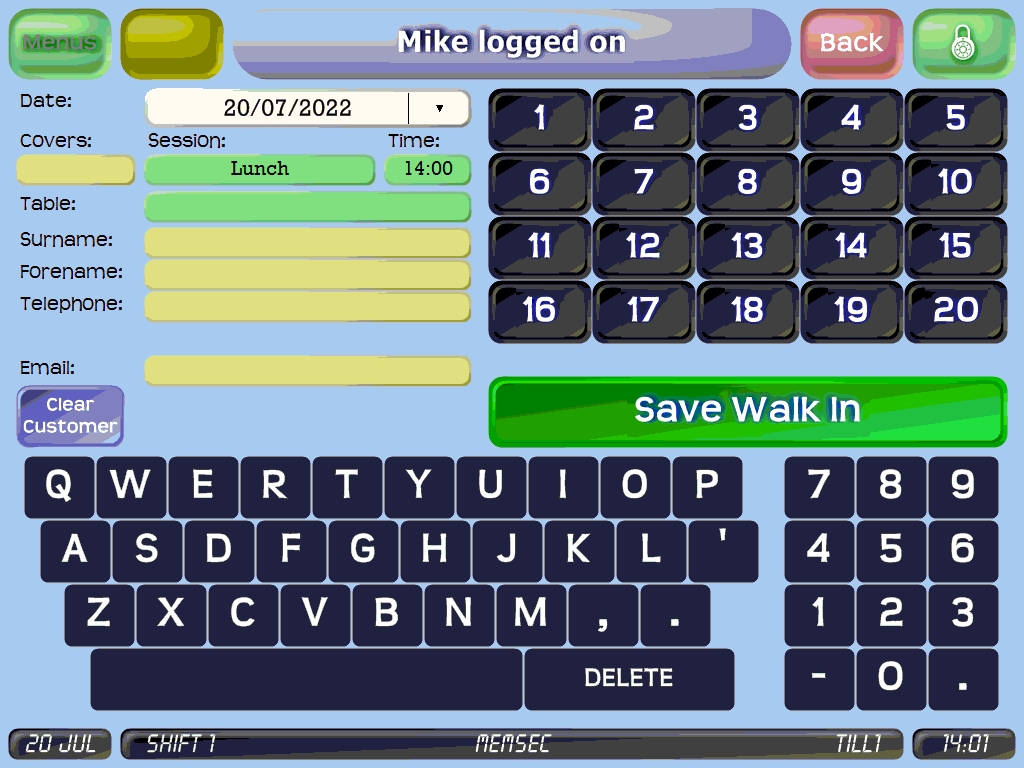
The current date, session and next available slot are automatically selected. All that’s required normally is the number of covers and table number, then clicking Save Walk In will save the ‘booking’ and create a tab for the selected table. Please see the settings page for the options around what information is recorded on a walk-in, and how this button’s functionality can be replicated when opening tabs or selecting a vacant table from the table plan at login.
Working with bookings
Selecting a booking in the list or chart will enable the Edit Booking and Cancel Booking buttons, and if the day you’re viewing is the current day, also the Activate button.
Edit Booking
This button will allow you to alter any aspect of a booking that’s already in the diary. Please see the guide to a new booking as the steps are the same. Some elements can’t be changed in isolation – if you change the number of covers for example, you’ll need to re-select the session, time and table number in case there’s not capacity for the new party size at the same time. This is true also for changing the session, where you’ll necessarily need to pick a new time and therefore table(s), and if you change the time you’ll also need to re-select the table(s).
In addition to the fields described when making a new booking, if any of your sessions are set up to allow customers to pre-order/purchase items, these will be visible in the edit screen.
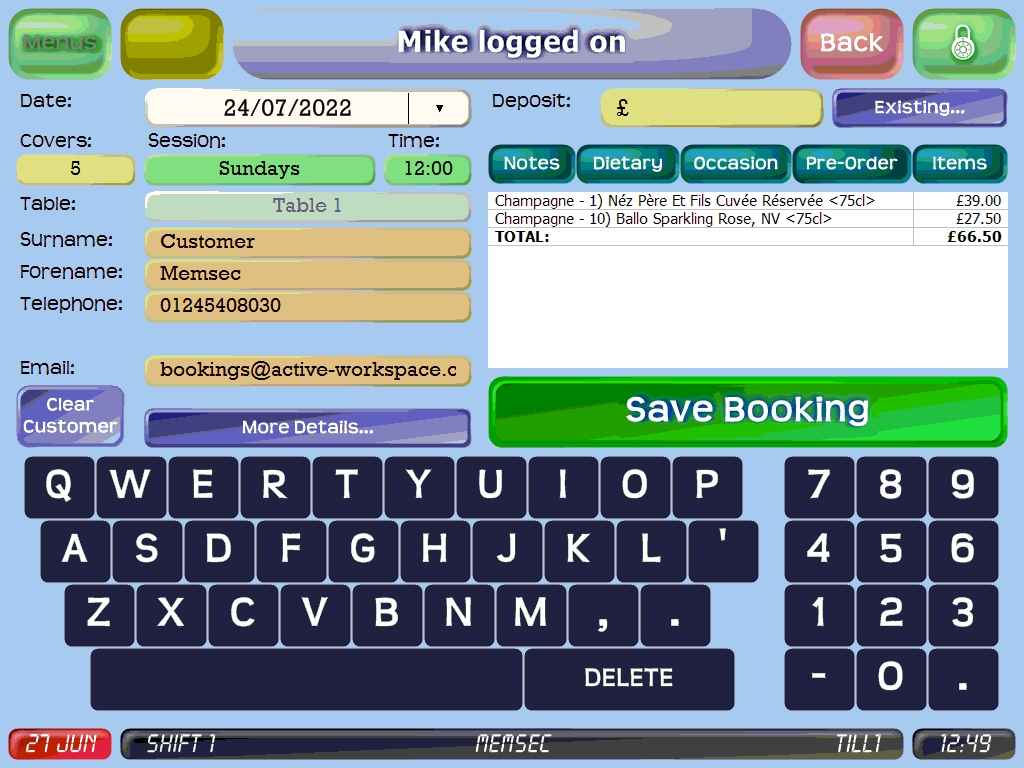
Similarly, when editing a booking you are able, if applicable, to update the fields relating to pre-orders to show that the pre-order form has been sent out and then received back. These buttons default to grey and change to green when selected. Please note that this does not relate to the purchased items detailed above, rather a paper or electronic pre-order form that you’ve separately provided to the booking customer.
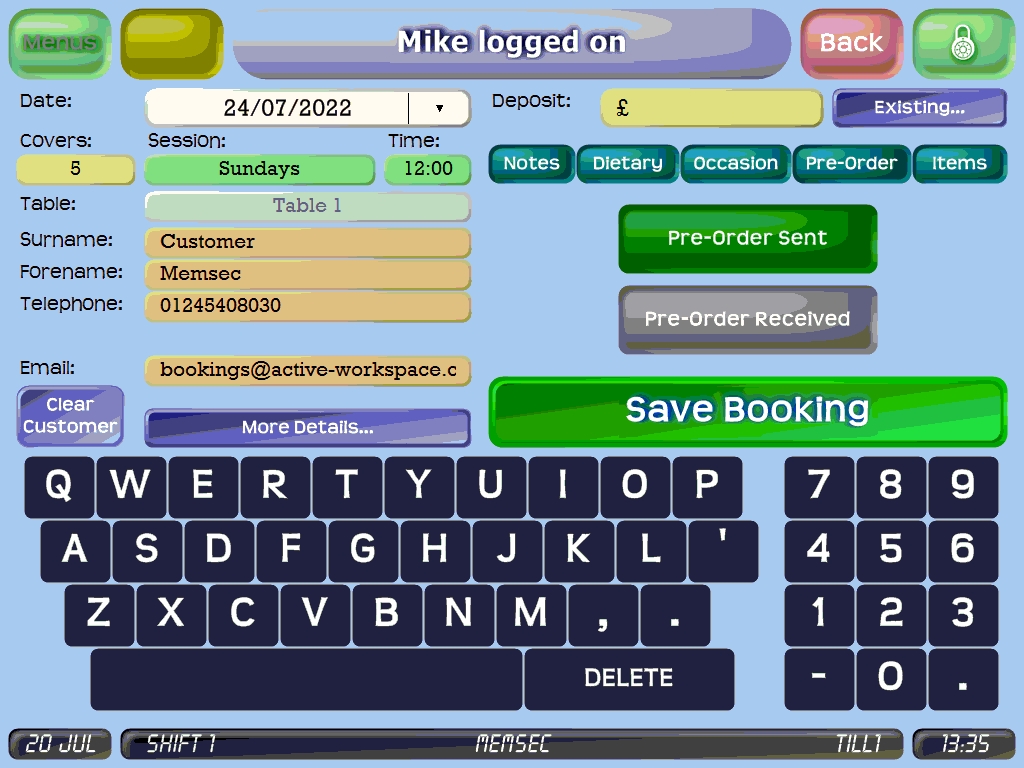
Cancel Booking
Clicking this button will generate a prompt to confirm that you wish to cancel a booking;
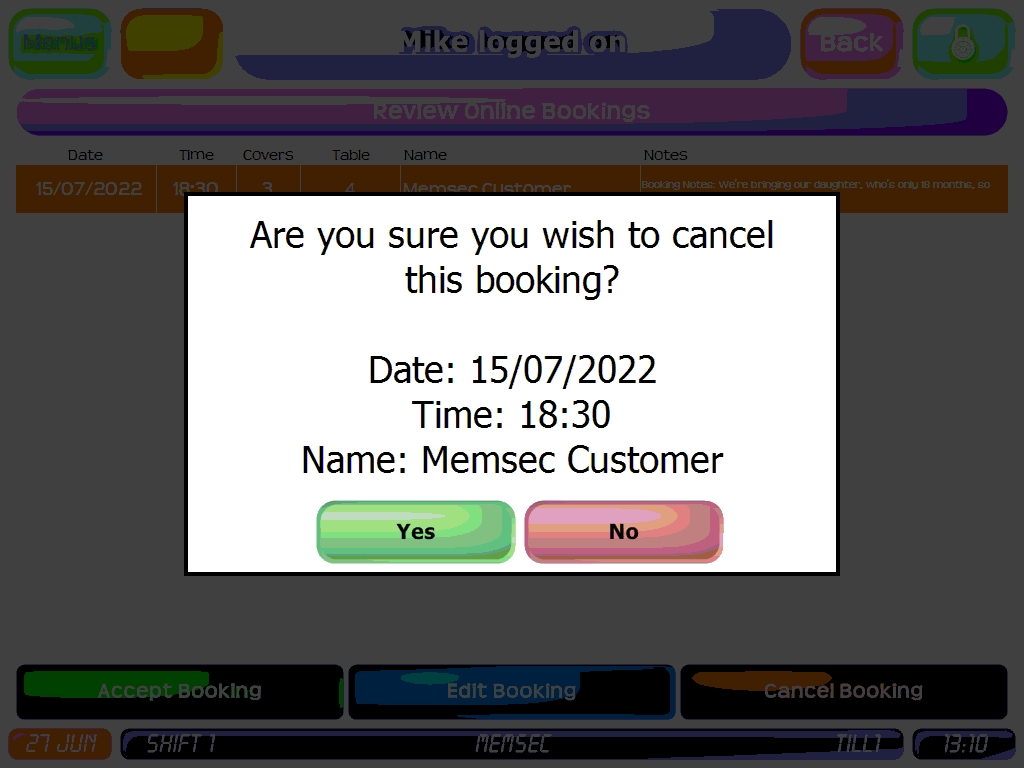
If you click ‘Yes’, the booking will be removed from the list and the customer will be notified by email if the booking was made online or if you have chosen to send email notifications for on-site bookings.
Activate
When a booking party arrives in your venue, you should use the Activate button to make the booking ‘live’. When you press the Activate button, you’ll see this dialog;
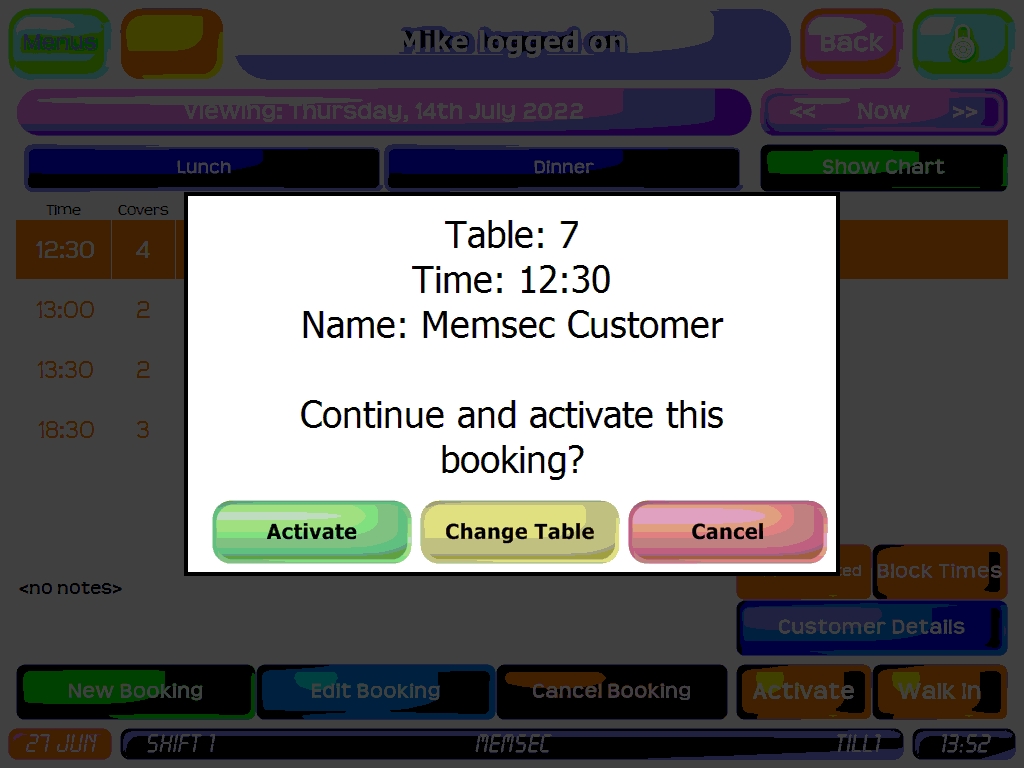
Cancel will return you to the bookings list/chart. Change Table will display a special version of the table plan;
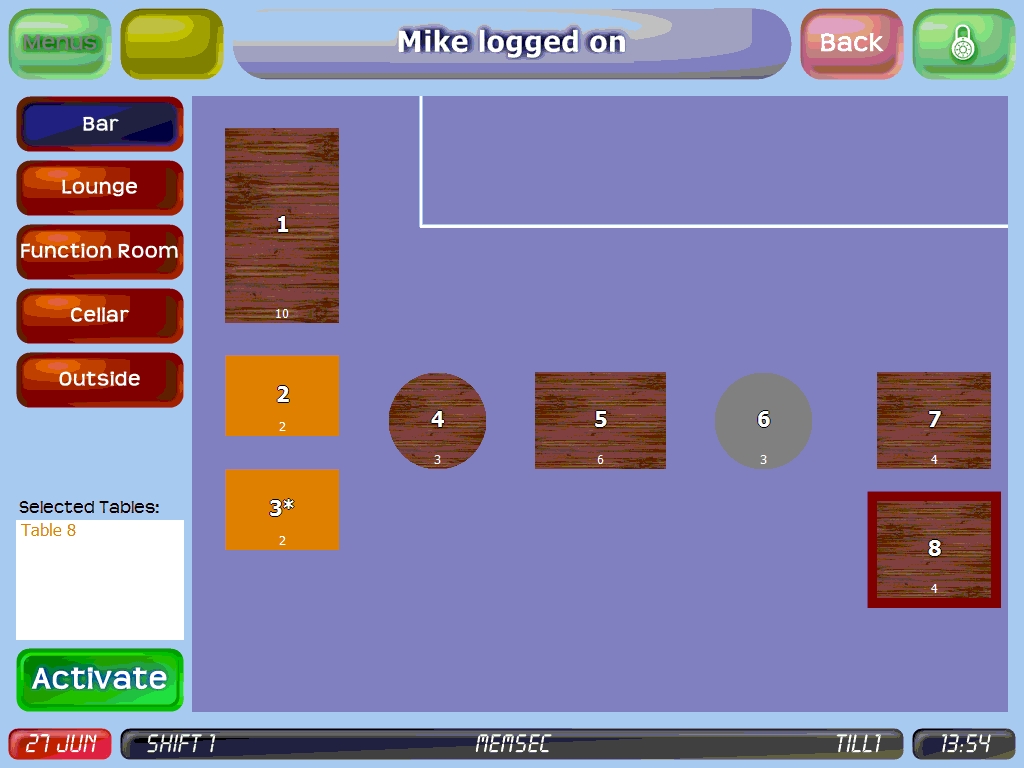
Select the new table and press Activate in this screen to activate the booking on the new table. Pressing Activate here or on the original prompt above will show this confirmation (f you’ve selected the option to Show Customer History on Activate, you’ll first see the history screen);
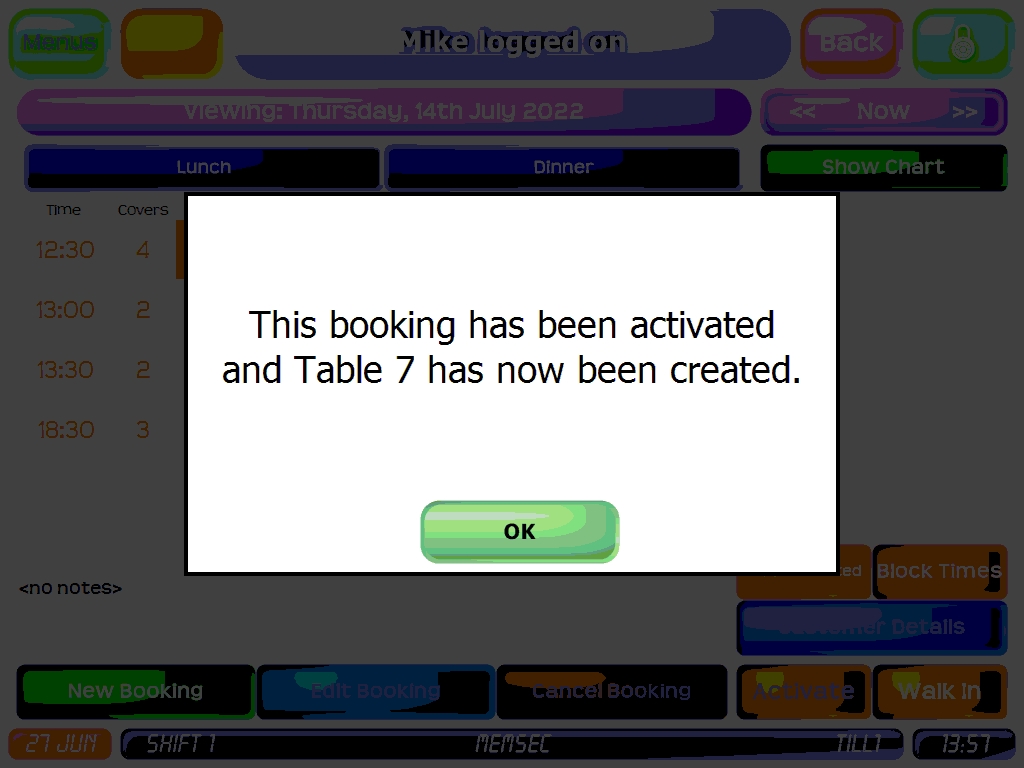
As this message suggests, a tab will have been created for this booking with the customer name and any deposit automatically attached, and the table will show on the table plan as ‘Seated’. On pressing OK you’ll be returned to the list or chart view, and in the list view the table number on this booking will be highlighted, indicating the table has been activated (see above).
