Memsec7 allows you to send emails to your customers in a number of situations. You can send emails to members if you have a membership, emails are sent with restaurant bookings and play bookings online, you can email deposit customers and online gift card purchasers will of course receive an email containing their gift code. Where an email is necessary, such as for a booking confirmation, templates are optional but give you the opportunity to style the message your customers receive. Templates are in HTML format, which means you can add images and use different fonts and colours.
To create a new template, go to General>Email Settings and click on the Templates tab. You’ll see a screen like this;
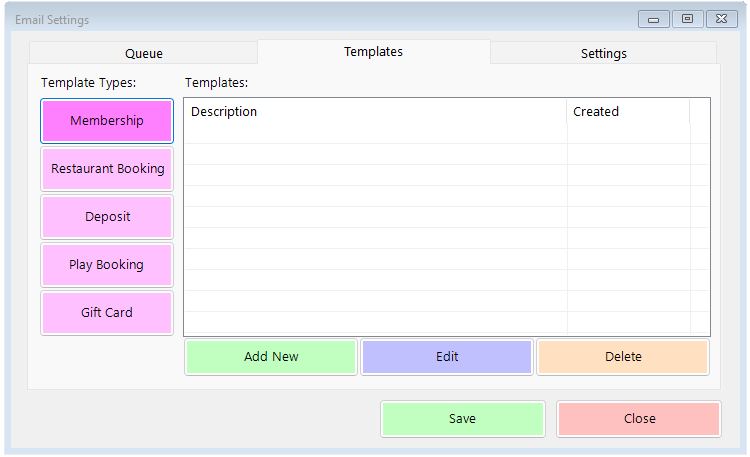
Select the type of template you wish to create using the pink buttons on the left, then click Add New. This screen will appear;
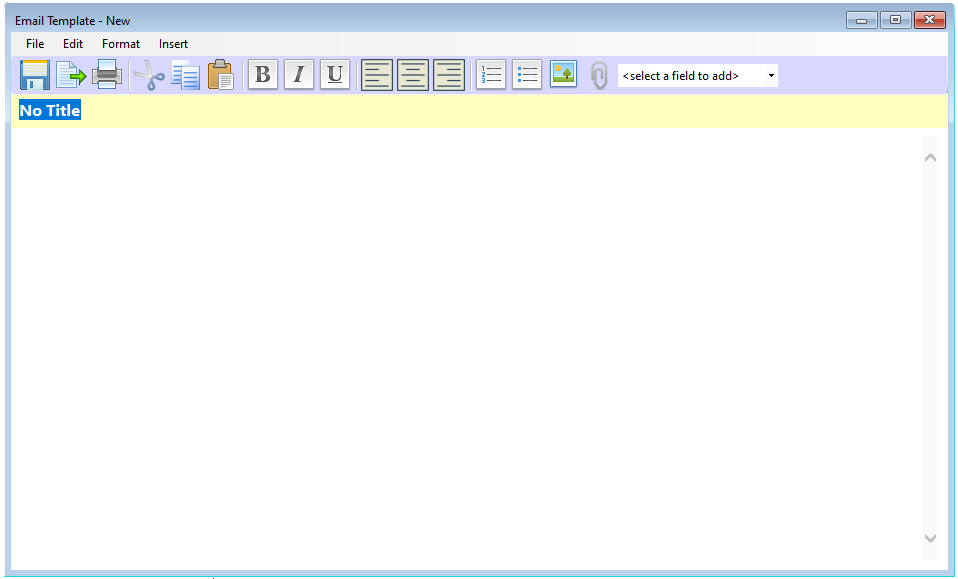
The icons along the top may be familiar if you’ve used a word processor program but from left to right they are as follows;
Save, Export, Print|Cut, Copy, Paste|Bold, Italic, Underline|Align Left, Align Centre, Align Right|Numbered List, Bulleted List, Add Image, Add Attachment.
Under the Menus many of these functions are repeated but there are some additional options available, as follows (additional features are in Italics);
| File | Edit | Format | Insert |
| New | Undo | Font Name | Image |
| Save | Redo | Font Size | Attachment |
| Export… | Font Colour | ||
| Print… | Cut | Number List | |
| Copy | Toggle Bold | Bullet List | |
| Close | Paste | Toggle Italic | |
| Delete | Toggle Underline | ||
| Select All | Align Left | ||
| Align Centre | |||
| Align Right | |||
| Align Justify |
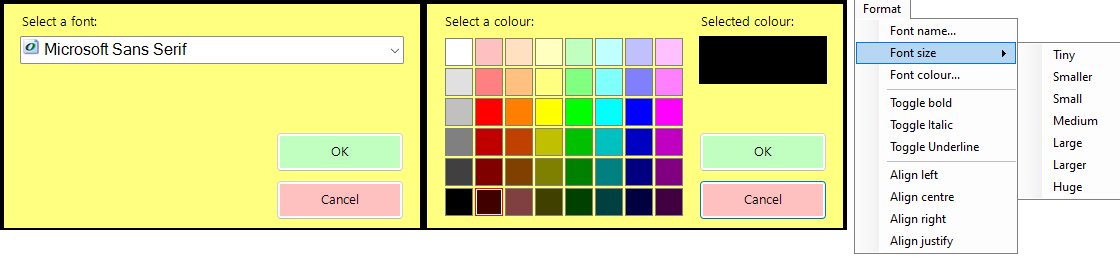
When using the format menu, highlight the text you wish to change, then select the required menu option. You’ll see a pop-up for font name or colour, while the font size option has a sub-menu.
Immediately under the icon bar is a field for the title of the email template, and then the white space below that is available for the template design. Simply compose your email template as you would any other email, formatting it using the various options above.
On the right of the icon bar there’s a drop-down box marked ‘select a field to add’. These are merge fields that will allow you to personalise the emails you send and make them more relevant to individual recipients. The contents of this list depend on the type of template you’re designing, and are as follows;
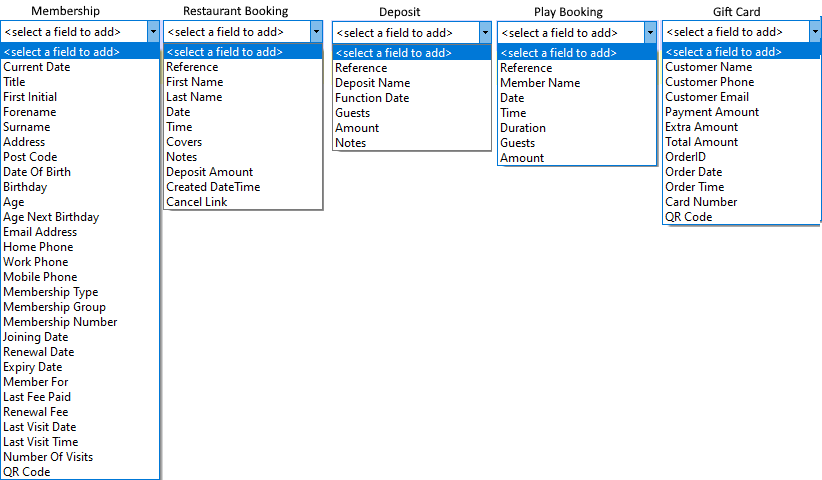
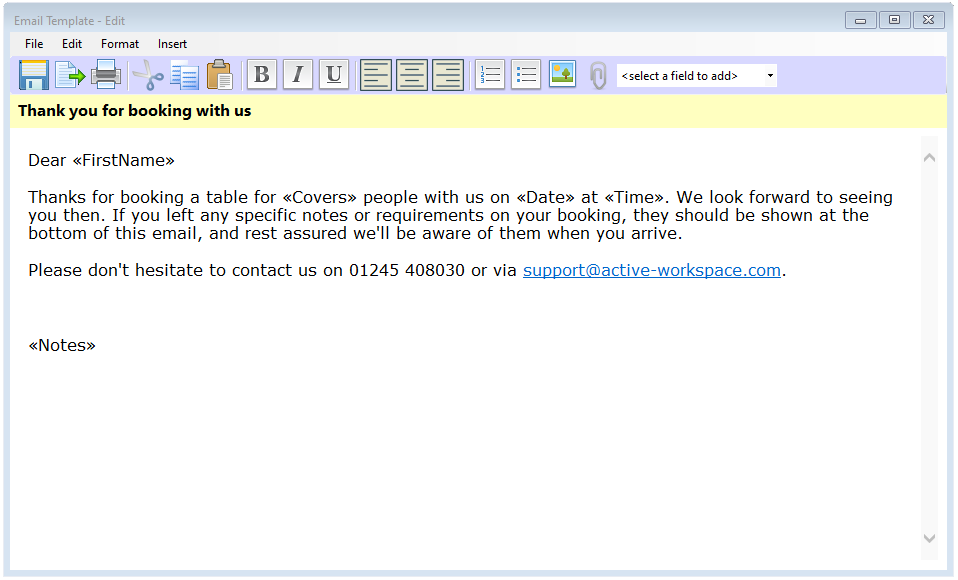
To use a merge field, simply write a sentence in your template that will use the field and at the appropriate point select the field from the drop-down. The name of the field will be inserted into the text between chevrons, like «this». Below is a sample of a restaurant booking template.
By clicking the Image icon you can add a logo or other image to the template. However, you’ll see this warning;

Click Confirm to proceed with an embedded image. If you want to use the attachment option instead, click Cancel then click the paperclip icon. You’ll see a file dialog which will allow you to select an image file from your computer (or other file type if using the attachment option). Inserted images can be resized using the drag points that will show at the corners and poles, and aligned using the justify buttons. Do try to use an image that isn’t too large though, as some email clients will display images at their full original size even if you’ve made them smaller in the template.
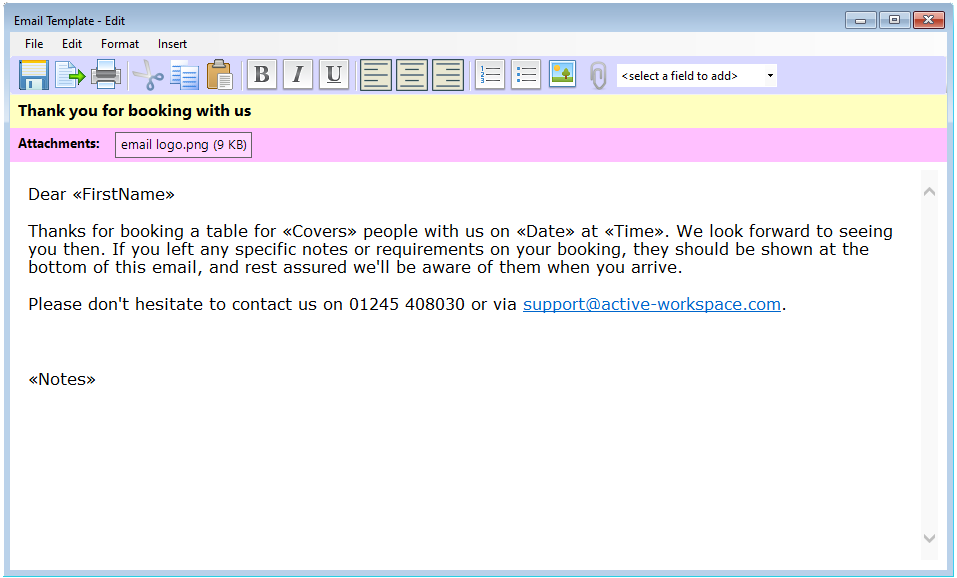
If you add an attachment, this will be shown in a pink band just below the title, like this;
Once you’re happy with the format of your email template, simply click the Save icon or select File>Save. The template will be saved and closed.
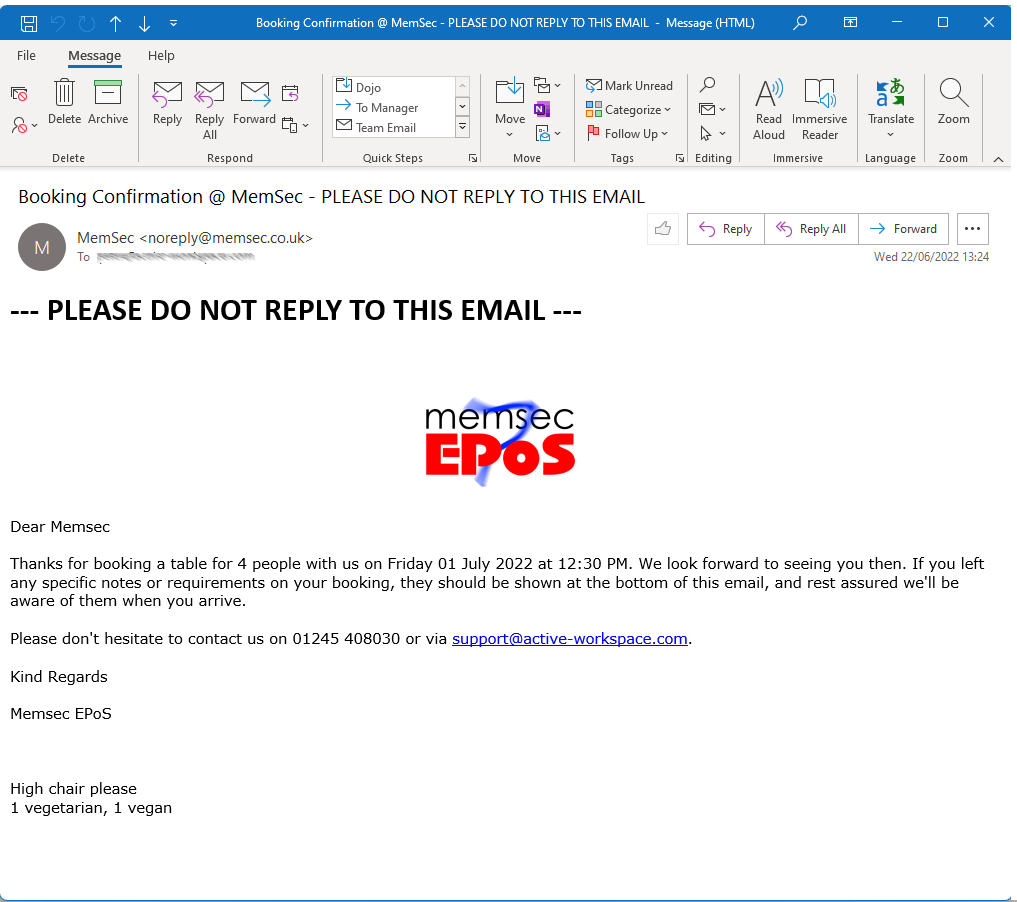
Below is an example of what the first sample template above produces.
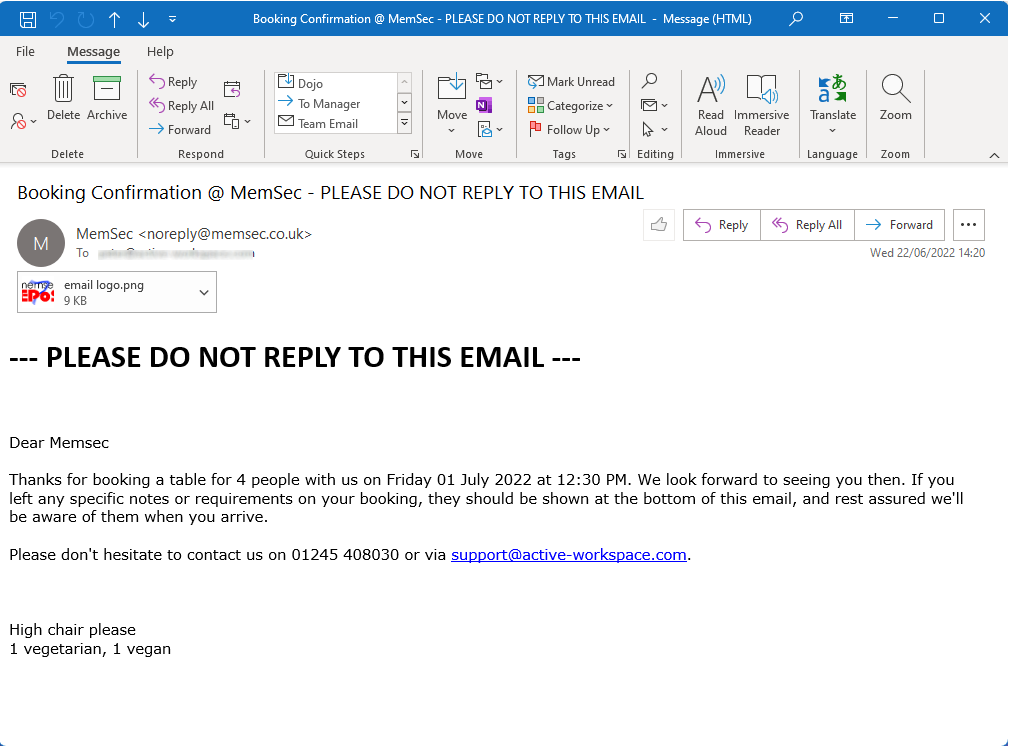
And this is an email with the logo as an attachment;
As you can see, emails sent by the system are clearly marked so that customers don’t attempt to reply to them, unless you have your own email server settings configured in the system. As such, you may wish to consider including a reply address within your template if you want to receive replies.
The export function allows you to export your email template as an HTML file, so that you can view it in a browser to see how the layout will appear to customers. Please note that any merge fields will display with marker characters in the export file.