

1) Category startup appearance
This drop-down lets you control how the categories and their constituent sale items will appear when a user views the online ordering pages. There are 3 choices; Expanded, Not Expanded and Only one expanded at a time.
Expanded
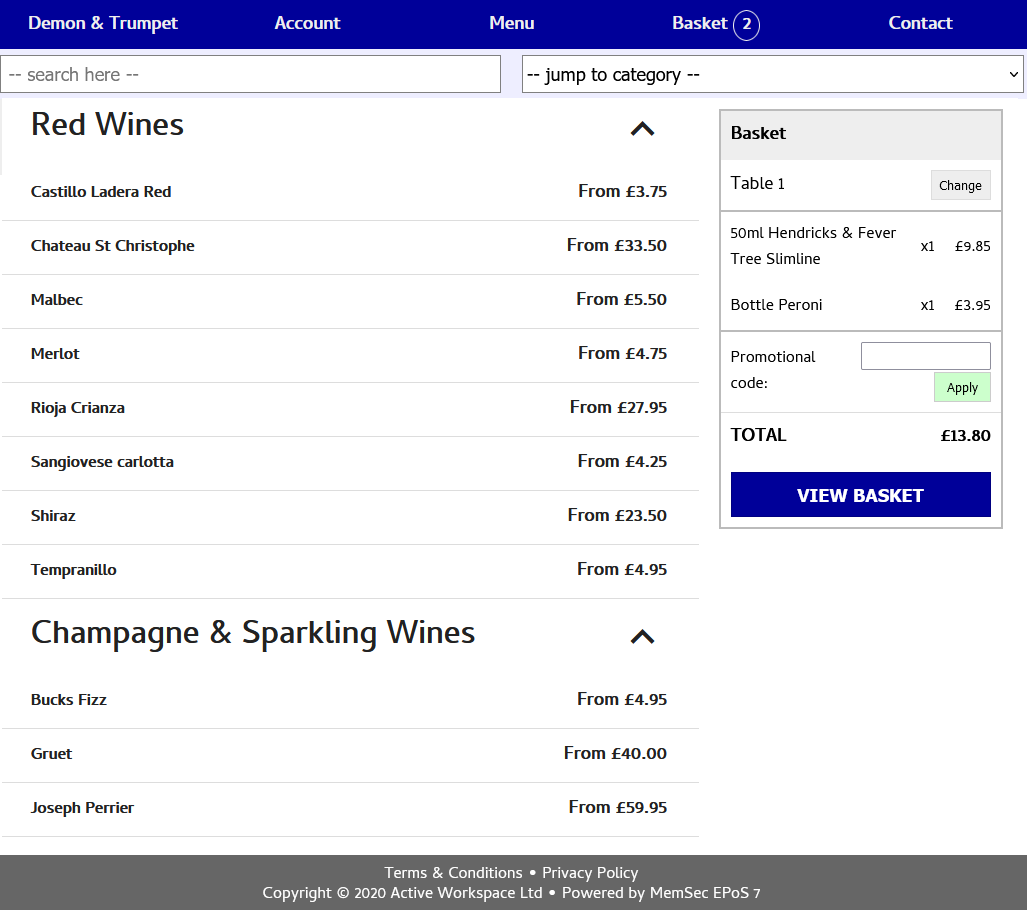
All categories will be listed with all their sale items visible. Users will still be able to click on the  symbol to collapse a category and hide its sale items. Expanded categories look like this;
Not Expanded
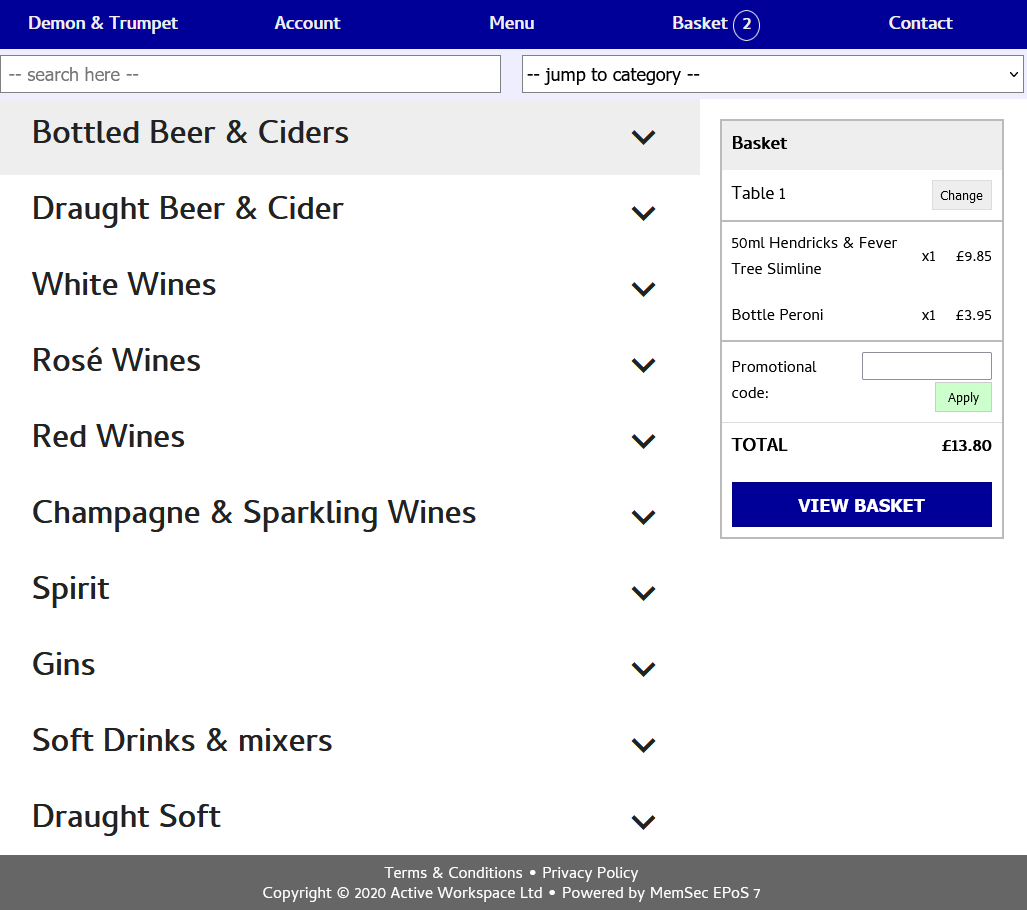
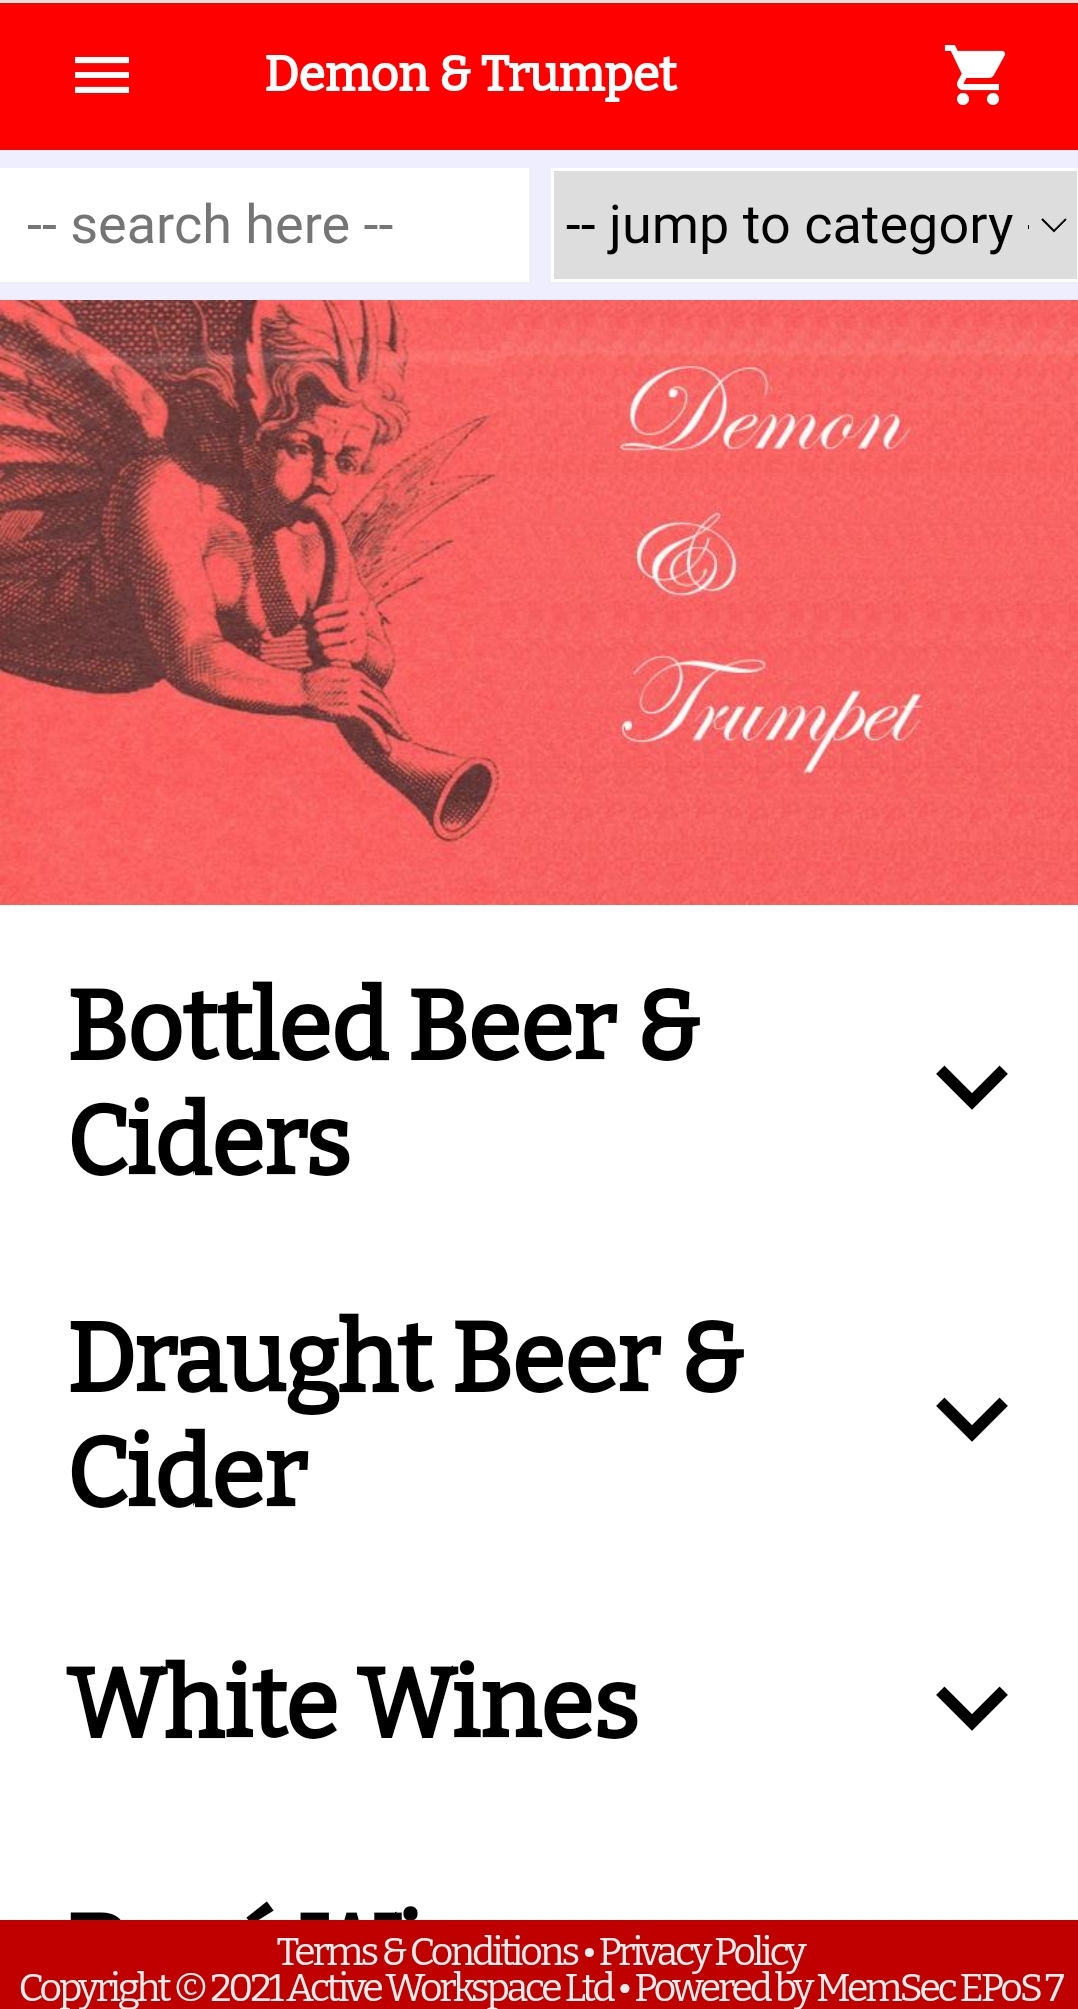
Conversely, this setting displays only the category names in the page, requiring the customer to choose to expand each category they wish to select from by clicking the  icon. With this option set the page displays like this;
Only one expanded at a time
As its name suggests, this setting ensures that only one category is expanded at any time while using the page. Expanding a new category will automatically contract the previous one. You can see this in operation below.
2) Google font name
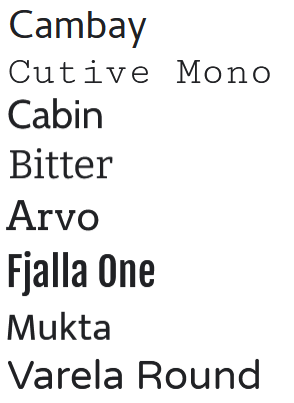
This box allows you to change the font used in your online ordering pages. This is a drop-down list which you can also type into. The fonts available to select are as follows;
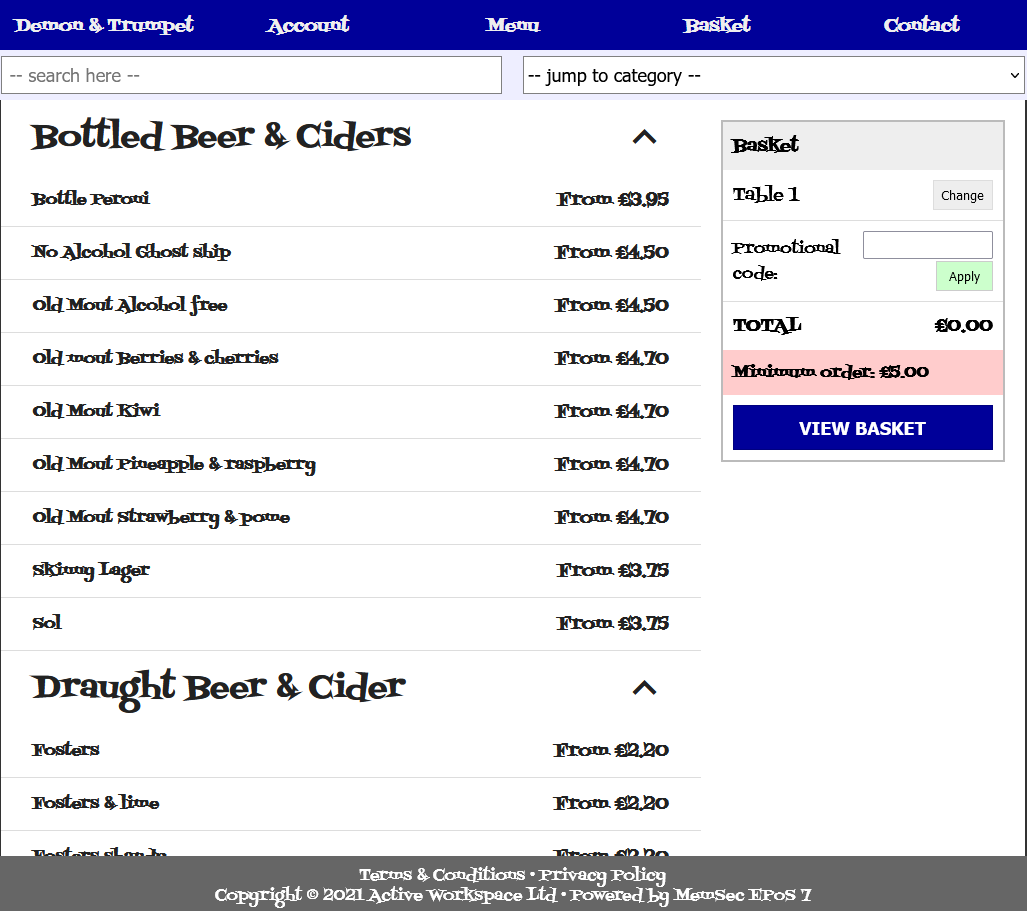
However, if you have a font that is used on your own website, that’s available in Google Fonts, you can type the name of that font in this list. As long as the spelling is correct, click ‘Save’ and your pages will use that font. For example, typing in ‘Fontdiner Swanky’

produces a page looking like this;
3) Colours
You can now change the colours of all elements in the ordering pages, according to the elements listed below;
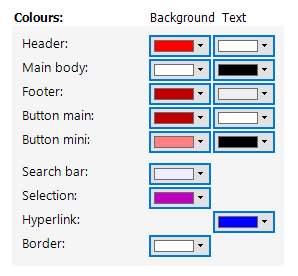
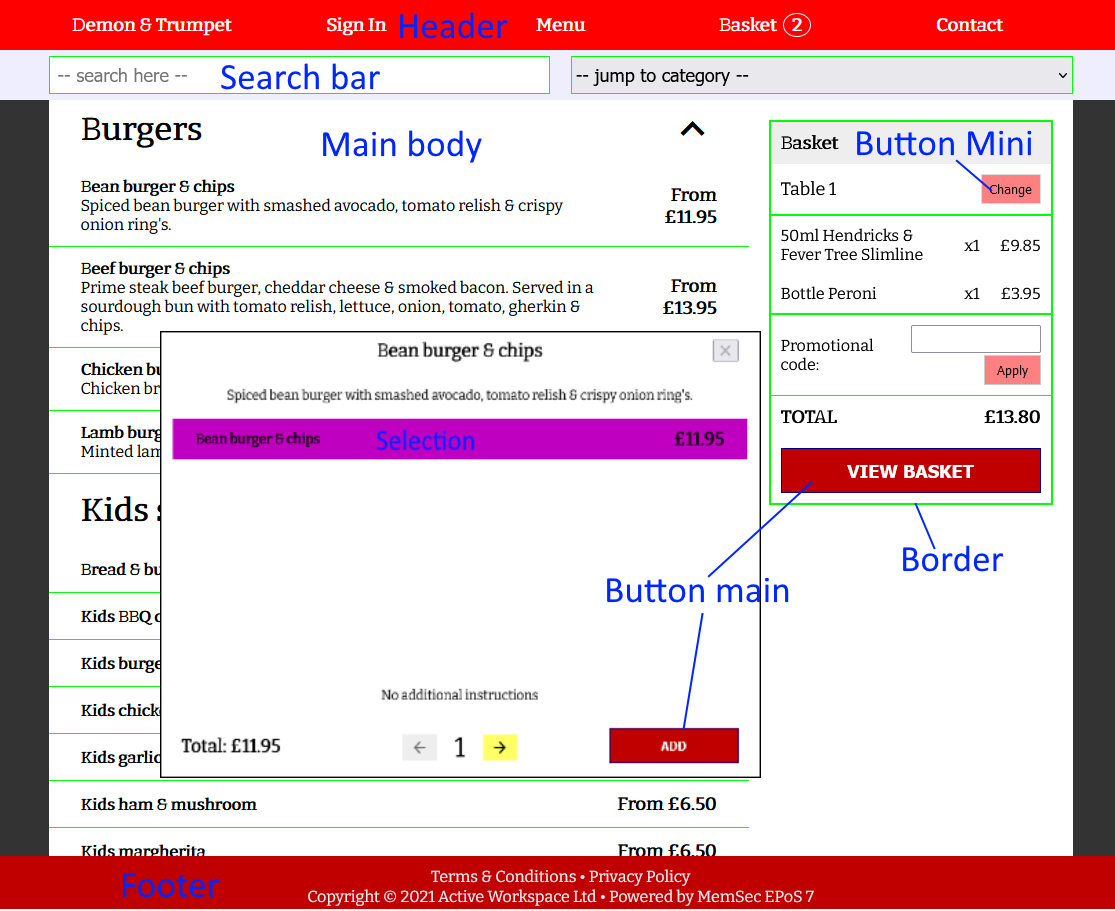
The image below shows which items on the page correspond to which of the above headings.
4) Menu Image
Finally, you can add an image to the top of your main ordering page. This will probably be a logo but you could equally display a signature dish or venue photo;
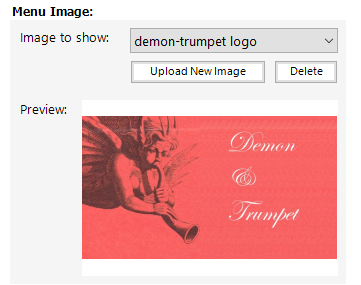
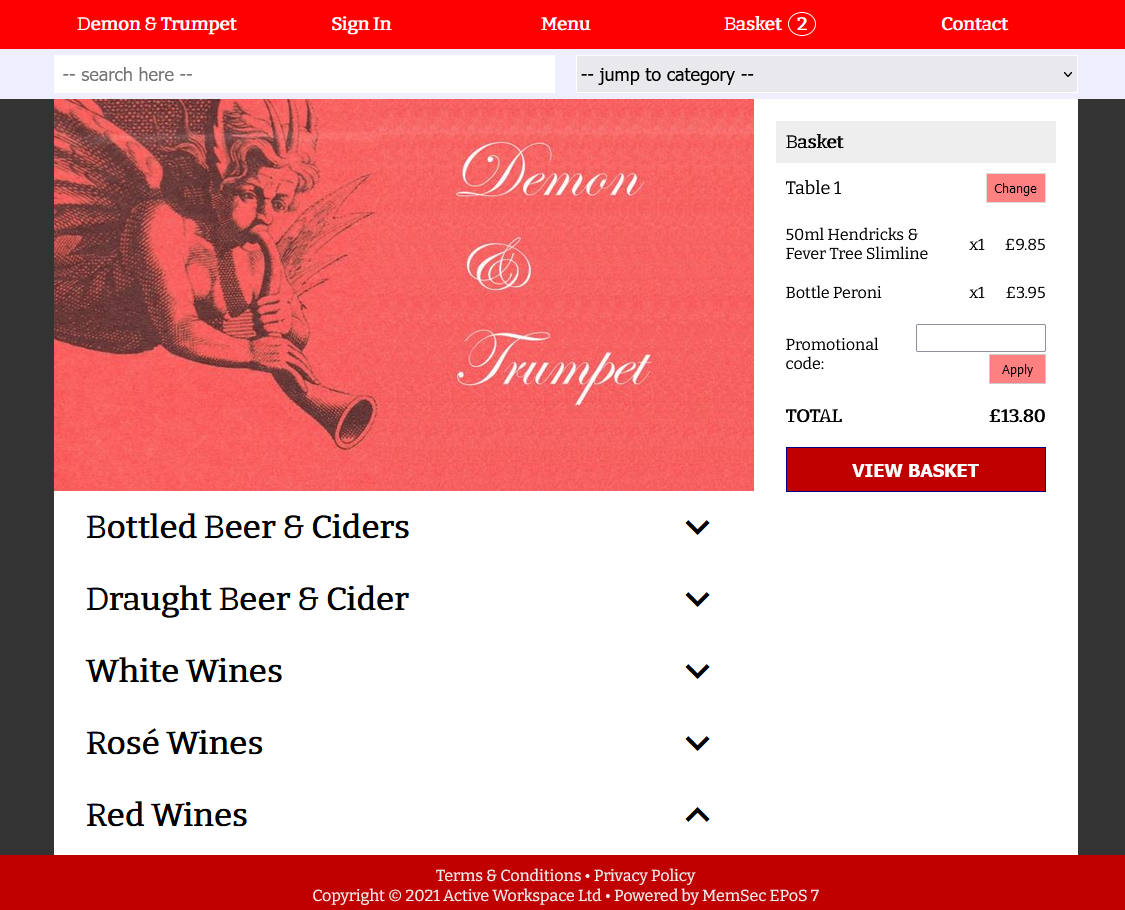
As you can see, you have the option to upload and delete images. When you upload an image, you’ll see how it will look on the page in the preview window. Here, for comparison, are screen shots of the above logo from both desktop and mobile sites:
`